My web
Remediation Specialist Role
Responding to a Notice of Potential Defect
![]()
What is a Notice of Potential Defect?
When Fannie Mae cites a significant defect after a full loan review, Loan Quality Connect triggers a Notice of Potential Defect (NOPD). The NOPD initiates a "pre-demand" opportunity that does two things:
- Allows you to correct Significant Defect(s) and Findings
- If defects(s) are corrected, the need to issue a Resolution Request is eliminated
- If defects(s) cannot be corrected, allows you to request Fannie Mae to proceed with the resolution process
Note: Not all file review generates a NOPD. NOPDs are not triggered for servicing violations, voluntary repurchases, or any life of loan related issues.
How does it work?
When a NOPD is issued, you will receive an email from LQC Request_NoReply@fanniemae.com alerting you to the notice. You will find the notice in your Resolution Queue in the NOPD Issued BI card. (See Updating Email Notification Contacts.)
Once the NOPD is issued, you have 30 calendar days to make your case to correct the defect by submitting additional information and/or documentation. If what is submitted corrects ALL Significant Defect(s), Fannie Mae closed the loan review.
If documents are not received and reviewed by the expiration date an Initial Resolution Request will be issued. This is the formal start of the remediation timeline per the Selling Guide (A2-3.2-03). All successful submissions of new data will be closed as Closed Notice of Potential Defect.
Note: The loan review will remain in the lender's Notice of Potential Defect B1 card for the duration of the SLA. The NOPD is not part of the Appeal process. An NOPD allows the lender to resolve a potential defect before the Initial Resolution Request is issued. Therefore, you will not see the Appeal Option under the Your Options section on the Remedy Status tab.

Responding to the Notice of Potential Defect (NOPD)
Follow these steps to respond to a NOPD after logging in to Loan Quality Connect.
- Select the Resolution Queue in the left menu.
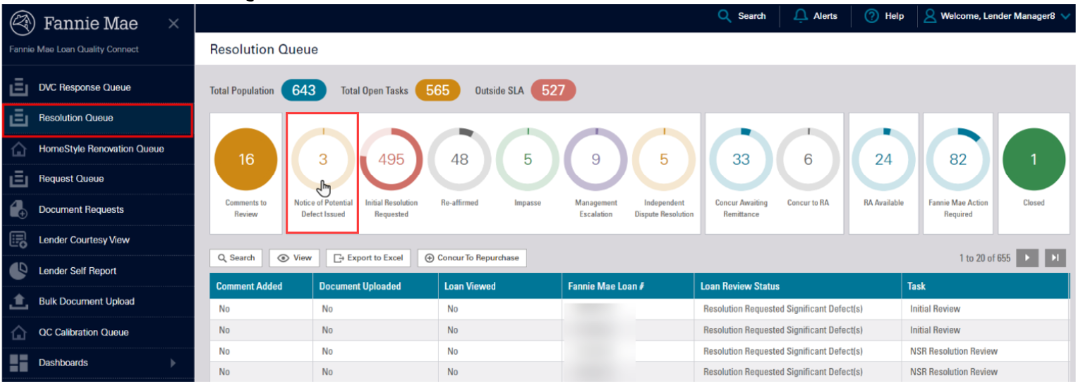
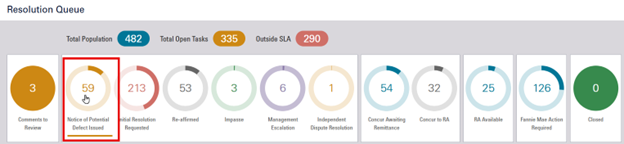
- Click the Notice of Potential Defect Issued B1 card. The loans with NOPD will populate in the search results area below the B1 cards.
Note: When Loan Quality Connect opens, it defaults to the Resolution Queue screen and displays the business intelligence (BI) cards at the top.
- Click the loan of your choice, and then click View - to open the Loan Details page and perform further actions on that loan.
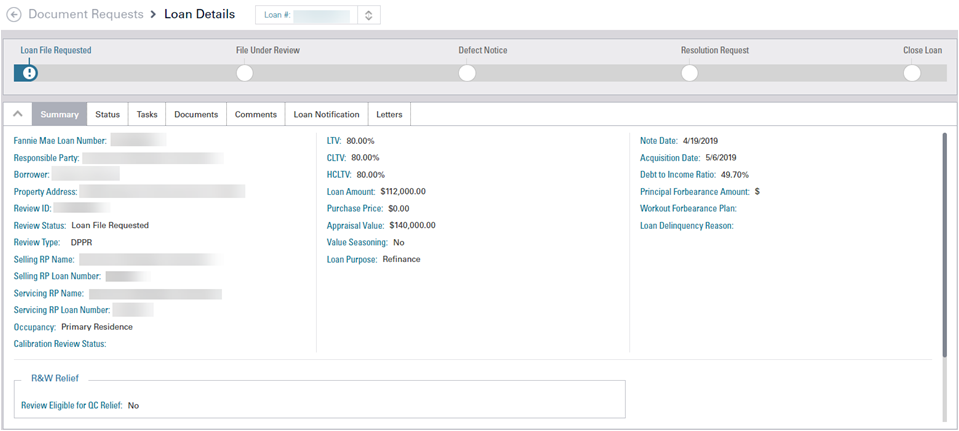
Note: The Loan Details page opens, defaulting to the Remedy Status screen.
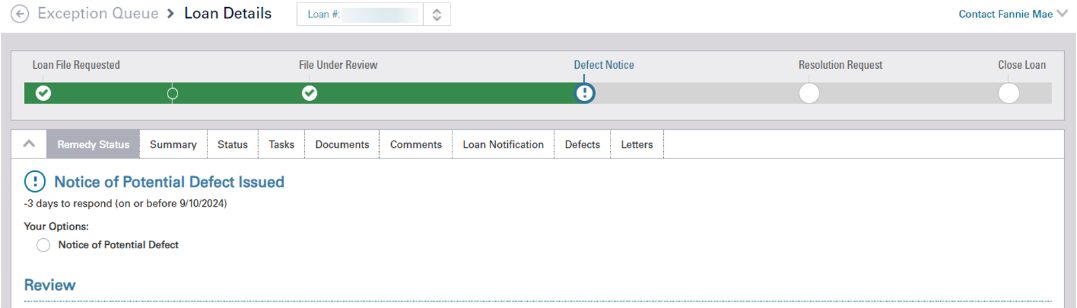
- Open the NOPD letter using one of these following options.
a. Click the icon under Defect Notice on the progress bar at the top of the page to view additional information about the defect notice and click View Defect Notice to open the NOPD letter.

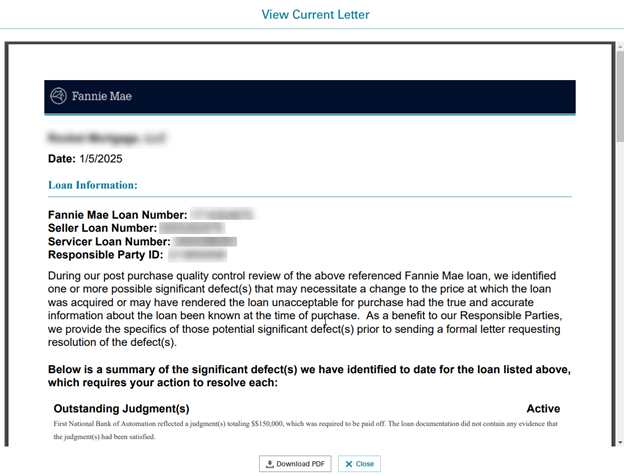
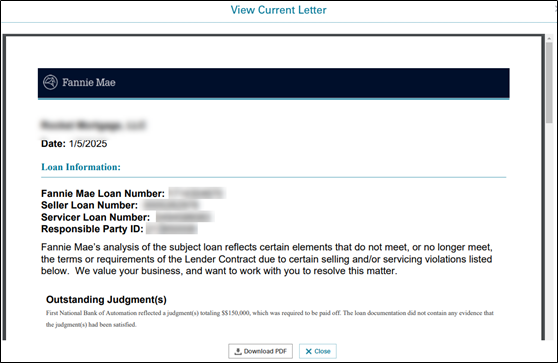
b. (New) Click View Current Letter hyperlink under the Your Option section
 View Current Letter image is displayed.
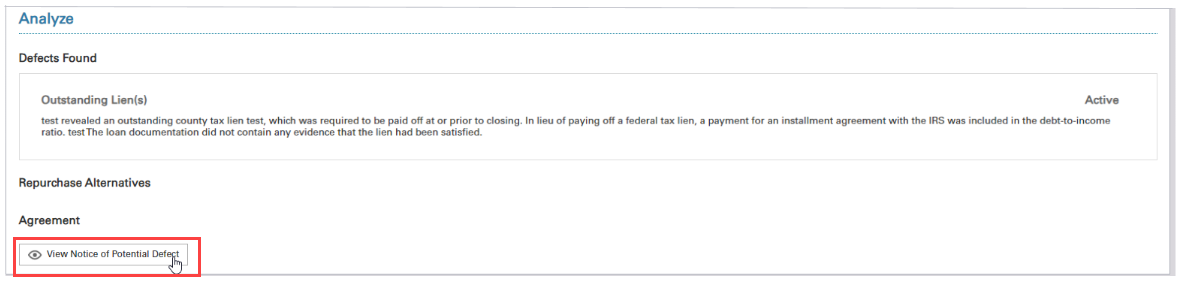
c. Scroll down the Loan Details page and click View Notice of Potential Defect.
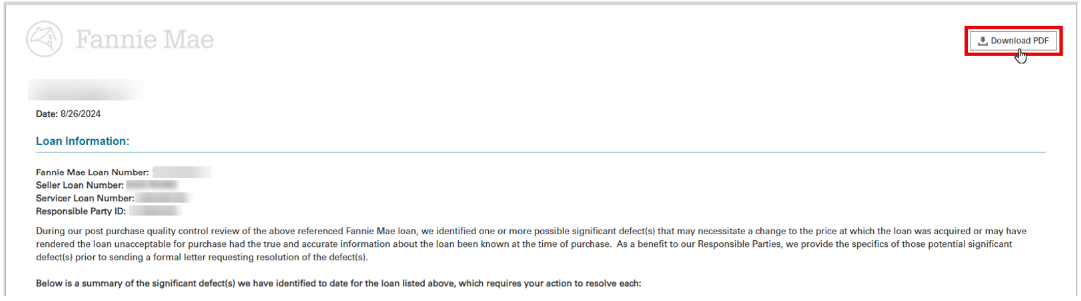
c. Click Download PDF to save NOPD letter to your local hard drive.
Note: If a Repurchase Alternative is offered, see Respond to a Notice of Potential Defect on how to proceed with the Resolution process.
- Click the Back button in the lower left corner of the Resolution Request to return to the Loan Details/Remedy Status screen.
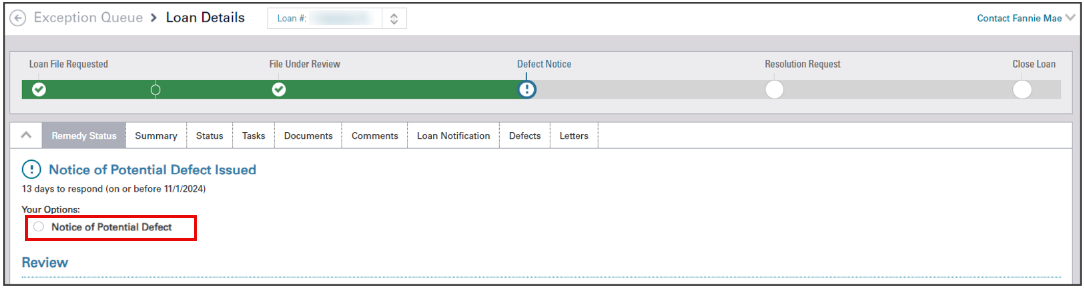
- From the Remedy Status screen, navigate to the Your Options section and select the Notice of Potential Defect radio button to view possible actions you can take in response to the NOPD.
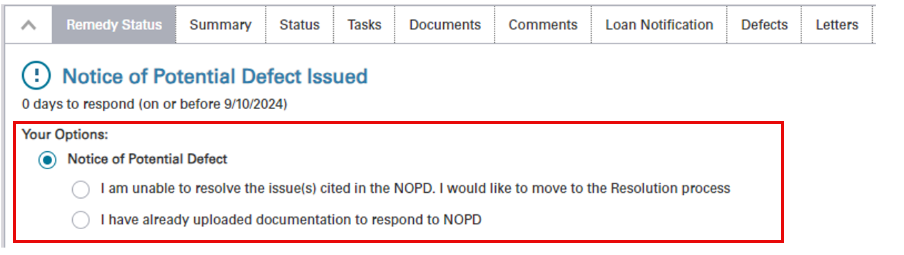
(New) Options for Responding to a Notice of Potential Defect
There are two options for responding to a Notice of Potential Defect. Each option has a step-by-step instruction on how to perform the action.
I am unable to resolve the issue(s) cited in the NOPD. I would like to move to the Resolution Request.
This option gives you the ability to acknowledge that you are unable to remediate the issue at this time and you want to proceed with the resolution process.
Follow these steps to proceed with the resolution request in response to a NOPD:
- On the Loan Details/Remedy Status screen, navigate to the Your Options/Notice of Potential Defect section and click the I am unable to resolve the issue(s) cited in the NOPD. I would like to move to the Resolution Request radio button.
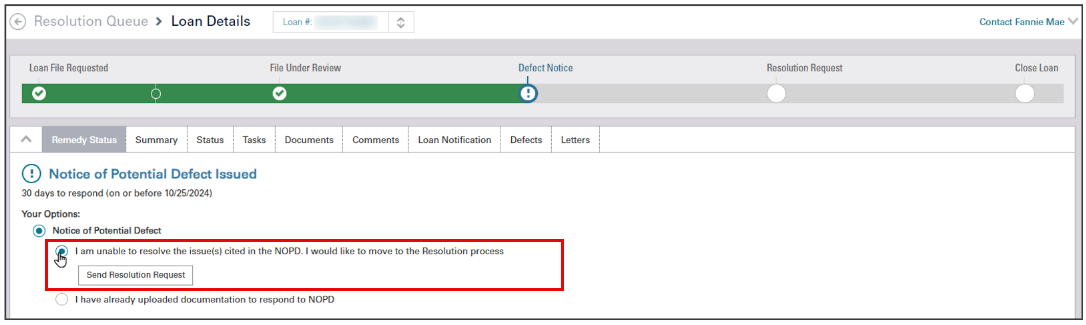
- Then click Send Resolution Request.

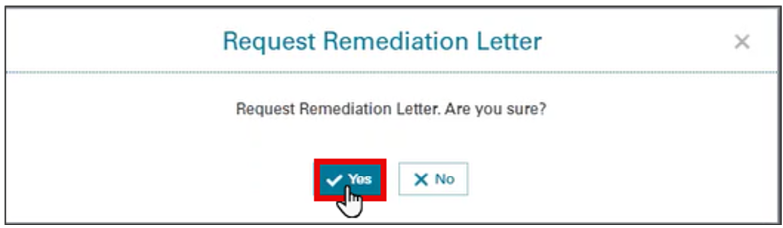
- Click Yes to proceed with the Remediation Letter request or No to return to previous screen.
Remedy Status will now display Resolution Requested.

Follow one of the three options to view the Resolution Request letter.
-
- Click the information icon under Resolution Request on the status bar to view additional information about the resolution requested, and then click View Resolution Request. The Resolution Request opens.

(New) Click View Current Letter under the Your Options section.

View Current letter image is displayed.
- Scroll down the Loan Details page and click View Initial Resolution Request. The Resolution Request letter opens.

- Click Back in the lower left corner of the Resolution Request to return to the Loan Details/Remedy Status screen.
- Click the information icon under Resolution Request on the status bar to view additional information about the resolution requested, and then click View Resolution Request. The Resolution Request opens.
I have already uploaded documentation to respond to NOPD
This option gives you the ability to inform Fannie Mae that you have already uploaded documentation in response to the NOPD. Before proceeding, ensure you have uploaded new supporting document(s). (See Uploading New Supporting Document(s).)
If additional clarification is needed on the new document, a comment can be added to the loan review (See Adding a Comment.)
- On the Loan Details/Remedy Status screen, navigate to the Your Options click the Notice of Potential Defect radio button.
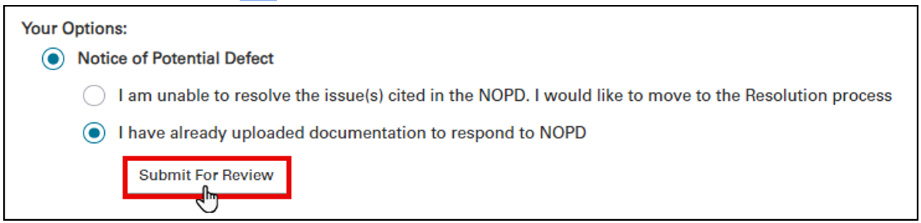
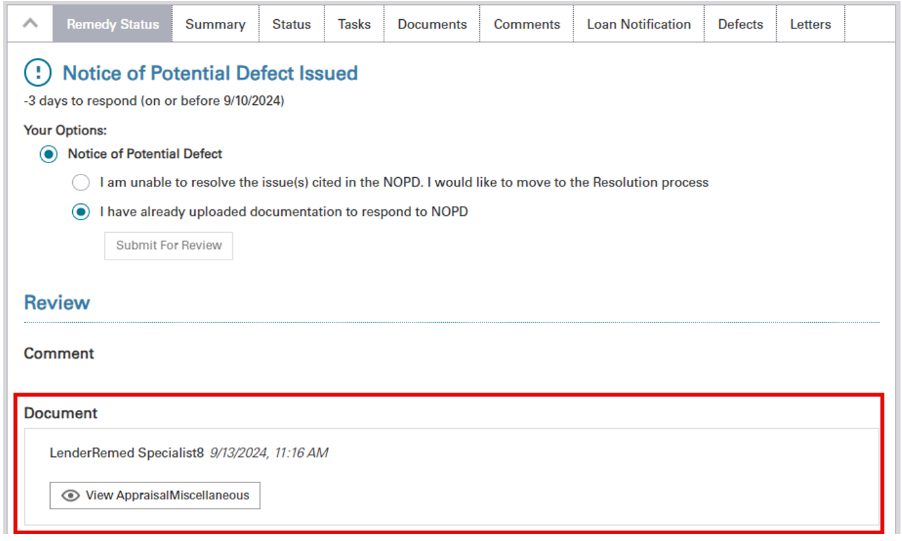
- Click the I have already uploaded documentation to respond to NOPD radio button.
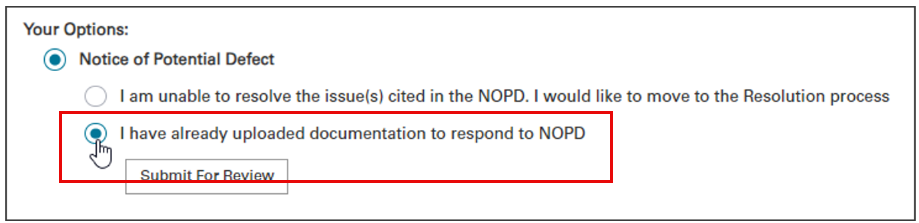
- Click Submit For Review.
Note: The Remedy Status screen displays.
Note: The Underwriting Remediation Specialist will receive an alert once the lender uploads supporting documentation.
If no action is taken in Loan Quality Connect, a formal Resolution Request will be issued on day 31 to initiate the Remedies Framework A2-3.2-03 requirements from the Selling Guide. However, use this advanced time to work with your counter parties, the borrower and/or the appraiser to request the documents necessary to remedy ALL the Significant Defects.
Adding a Comment
Follow these steps to add a comment in response to the NOPD:
- Scroll down the NOPD letter to the summary of significant defect(s) section and click View Comments.
Note: Do this for each defect cited.

- The Defect Comment window opens. Click Add Comment.
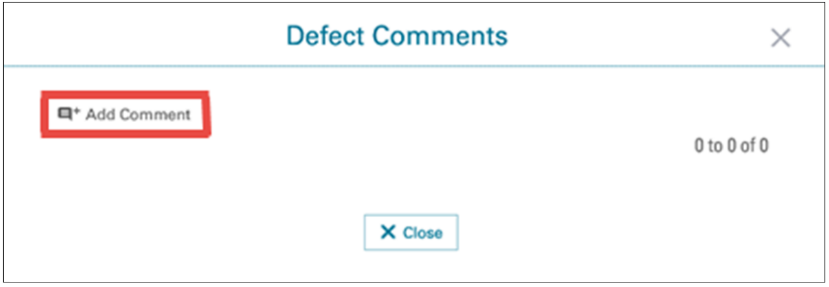
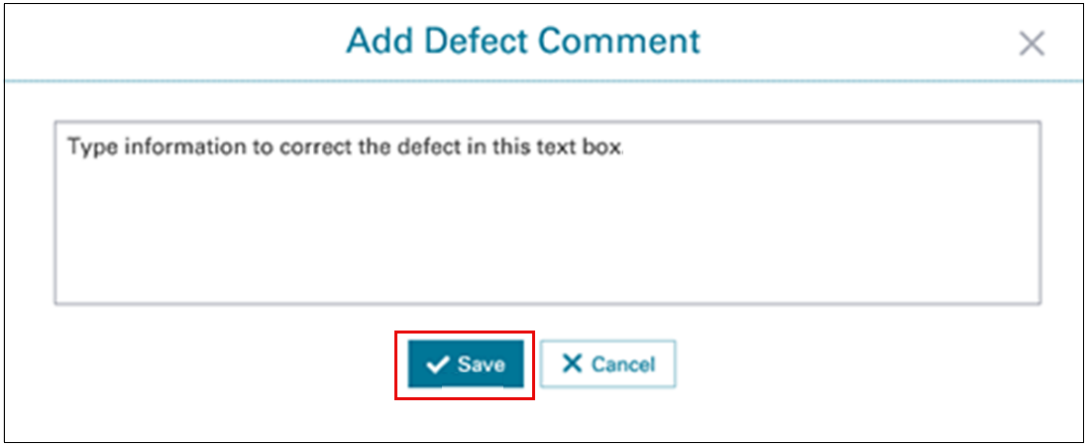
- Enter Information in the text box and click Save.
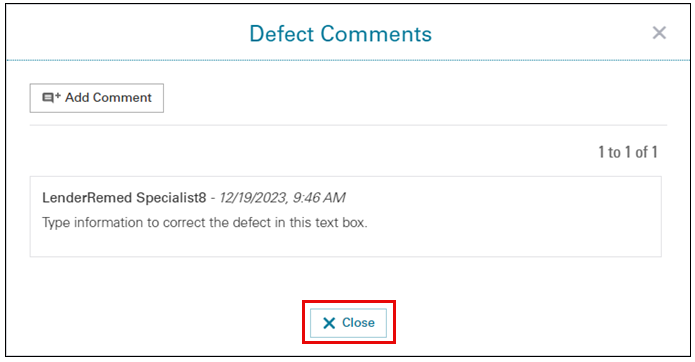
Note: Your comment is displayed on the Defect Comments window with the date and time it was submitted. When you add additional comments, they will appear below in the order that they were added. The comments added are also displayed on the comment tab.
- Click Close to return to the NOPD letter.
Note: When you close and submit a comment an alert is sent to the Fannie Mae Underwriting Remediation Specialist.
Loan Remediation Tasks
Responding to a Notice of Potential Defect - Mgr
Uploading New Supporting Document(s)
Follow these steps to upload a new supporting document(s) in response to the NOPD:
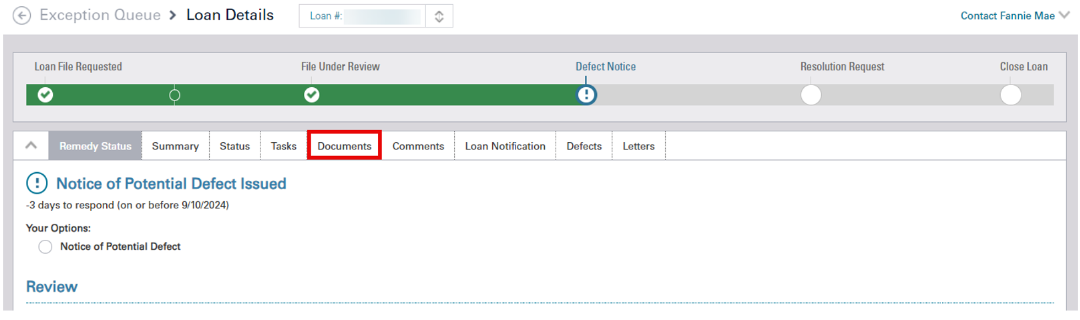
- From the Loan Detail page, click the Documents tab.
- Click Upload Additional Document.

- From the Upload Document screen, select the Category and Type of document you want to upload from the drop-down menu, and enter a Description of the document.
Important: Please avoid selecting LoanFile as the Document Type unless a loan file is specifically requested, as this may cause delays in the review process.

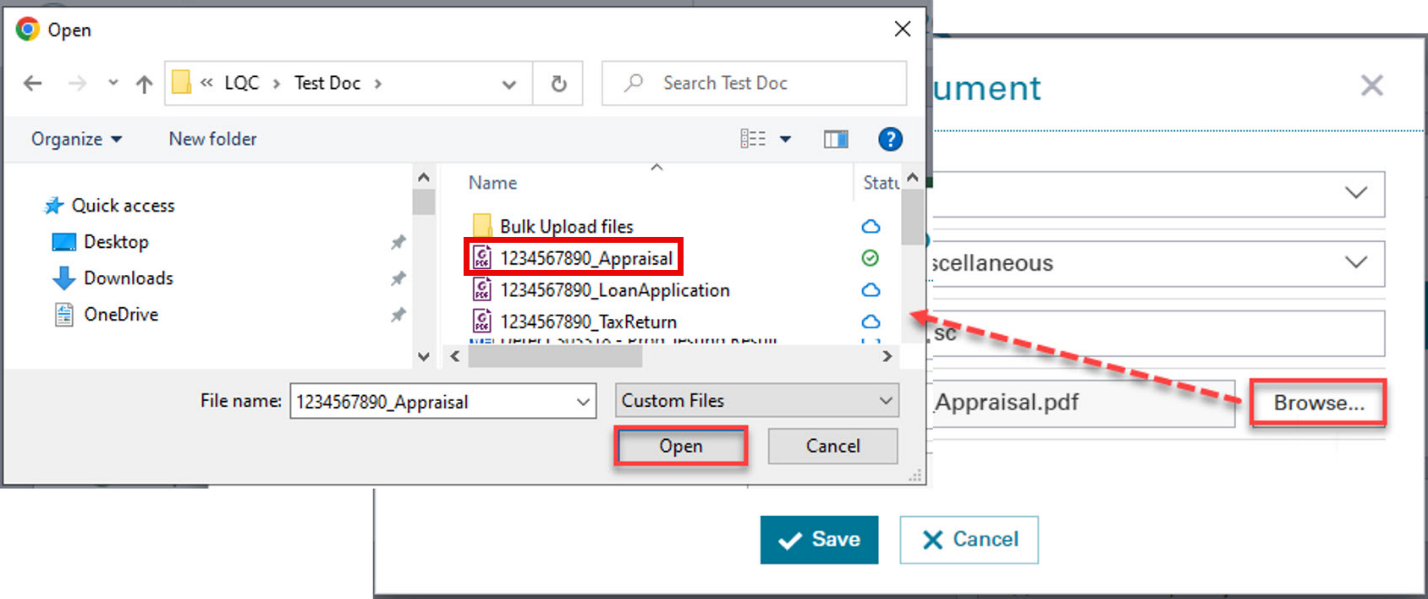
- Click Browser to open your local directory. Select the document you want to upload and click Open.

- Click Save.

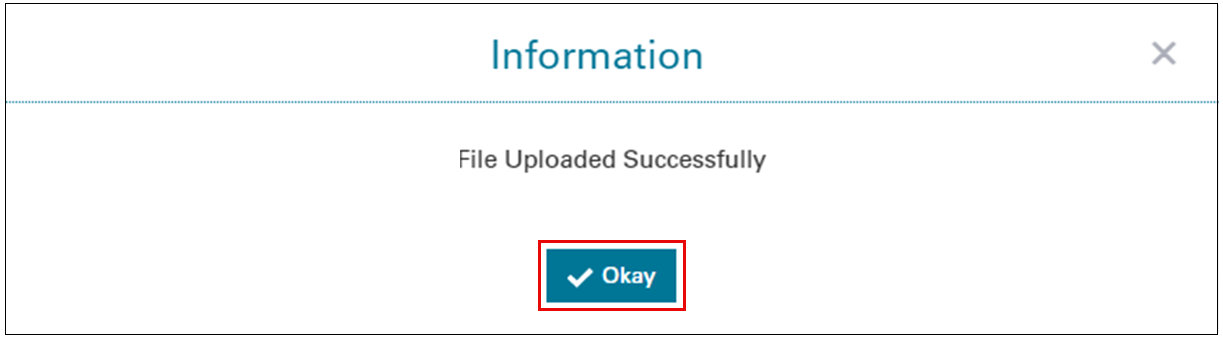
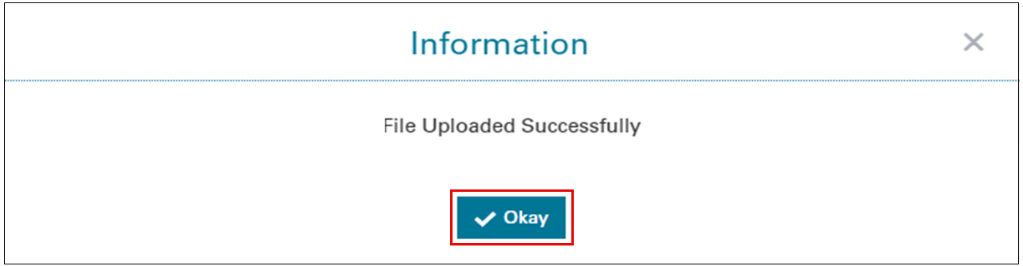
- Click Okay if the message indicates the file uploaded successfully.
The uploaded document now displays in the Document tab.
Note: If there is an error message instead, return to Step 2 and repeat the process.

Note: The Underwriting Remediation Specialist will receive an alert once the lender uploads supporting documentation or makes a Comment during the NOPD status.
Uploading a Loan File (Only Applies to Loan File Missing Defect)
Follow these steps to upload a Loan File in response to the NOPD:
Note: See Responding to a Notice of Potential Defect instructions above on responding to the NOPD.
- First format your file correctly in preparation for uploading into LQCS. All pages you plan to upload must be merged into a single PDF file with a page size of 8.5" x 11" or 11" x 14". Do not use the PDF Portfolio functionality if you have it available. The maximum loan file size that can be uploaded via the Bulk Upload function is 400 MB per PDF.
When you are ready to save your PDF file, loan files must:
- Be in a single .pdf format.
- The name must start with the Fannie Mae Loan Number, followed by an underscore (_) and LoanFile as one word.
- In case the loan file is broken up in multiple .pdf files, (due to file exceeding the maximum loan file size) number the files in a sequence i.e., LoanFile1, LoanFile2 etc...
Below are examples how files must be named:
-
FannieMaeLoanNumber_LoanFile(123456789_LoanFIle.pdf)
-
FannieMaeLoanNumber_LoanFile1(123456789_LoanFIle.pdf)
For other documents, review the Document Upload Naming Convention job aid for a listing of Loan Quality Connect allowable document names.
Note: Failure to upload files in the correct manner will result in an upload error.
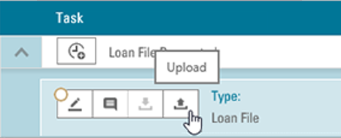
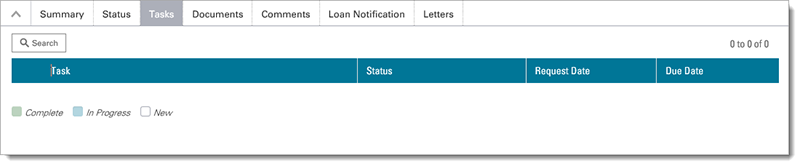
- From the Loan Detail page, click the Task tab.
- Click Search and select "No" from the Show Completed drop-down to view all open requests.
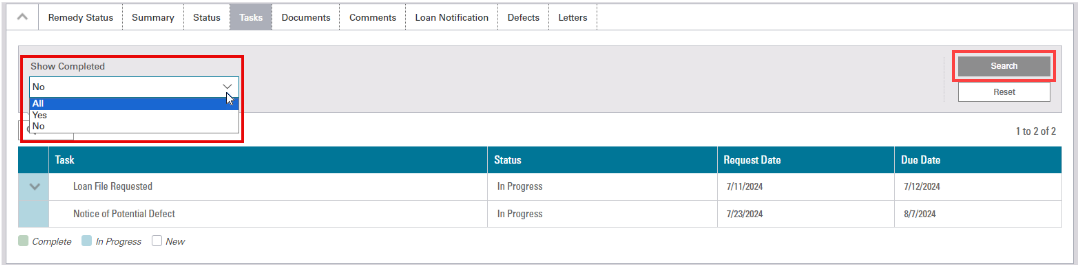
- Click the arrow next to the desired request to open the outstanding tasks.
Note: Each task listed here has an icon menu next to it

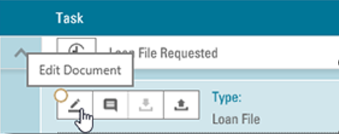
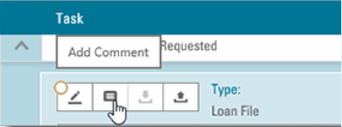
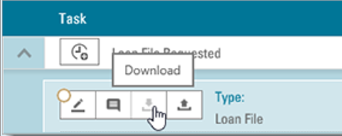
- You can perform the following actions using the Task menu icons.
Edit a Document - allows you to upload a loan file or a document along with adding a comment.
Add a Comment - allows you to add a comment to the loan file or a document.
Download a Document - allows you to download a loan file or a document that has been uploaded.
Upload a Document - allows you to upload a loan file or a document.
Note: Notice that the outline of the circle at the upper left of the icon menu is color-coded to reflect the status of the request, either Accepted (green), Rejected (red), Received (blue), Requested (yellow), or Cancelled (gray), or Closed (purple).

- Accepted - the action you have taken on the task has been successfully submitted in Loan Quality Connect.
- Rejected - the action you have taken on the task was rejected by the Loan Quality Connect system and you should try again.
- Received - a Fannie Mae reviewer has received the information you submitted.
- Requested - there is an outstanding request from a Fannie Mae reviewer for the information.
- Cancelled - there was an outstanding request from a Fannie Mae reviewer for the information, but the task has been cancelled.
- Closed - there was an outstanding request that was not provided to Fannie Mae before the loan move to remediation status.
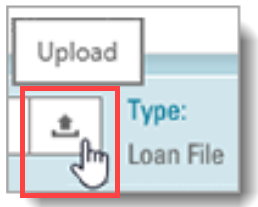
- To provide a file for review, click the Upload icon.
Note: The uploaded file must be in a single .PDF format. All necessary documents for a loan must be clumped and uploaded in one PDF file.
-
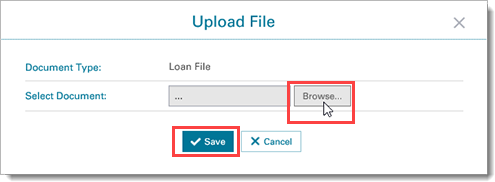
Click Browse, and then select a file to upload. Then click Save.
Note: A manifest is not required to upload documents to Loan Quality Connect.
-
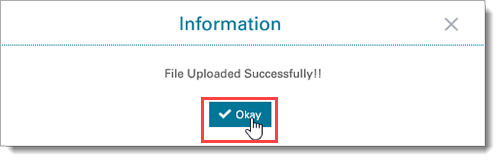
The information displays, confirming the upload was successful. Click Okay.
When you return to Tasks, this task has been removed from your queue.
Linking New Documentation (Optional)
Follow these steps to link a new document in response to the NOPD.
Note: See Responding to a Notice of Potential Defect above for more instructions on responding to NOPD.
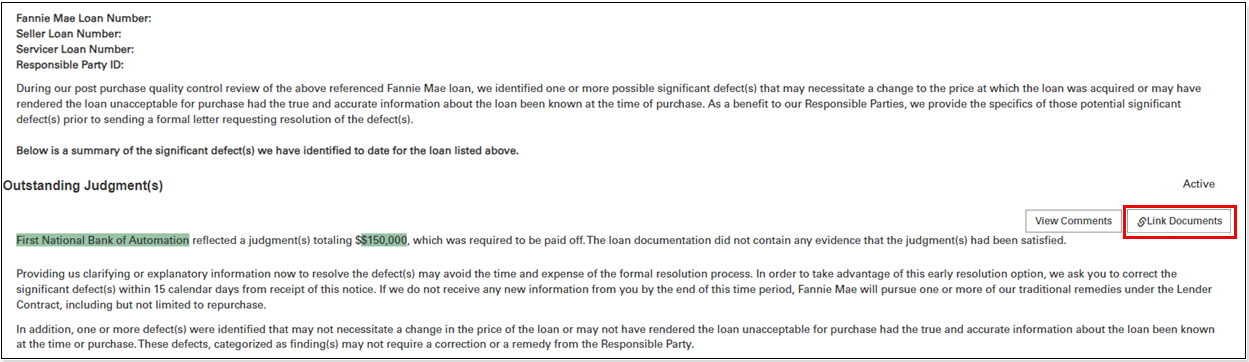
- Open the NOPD letter using one of the following two options.
a. Click the icon under Defect Notice on the progress bar at the top of the page to view additional information about the defect notice, and click View Defect Notice to open the defect notice letter.

b. Scroll down the Loan Details page and click View Notice of Potential Defect to open the defect notice letter.

- Scroll down the NOPD letter and click Link Documents.
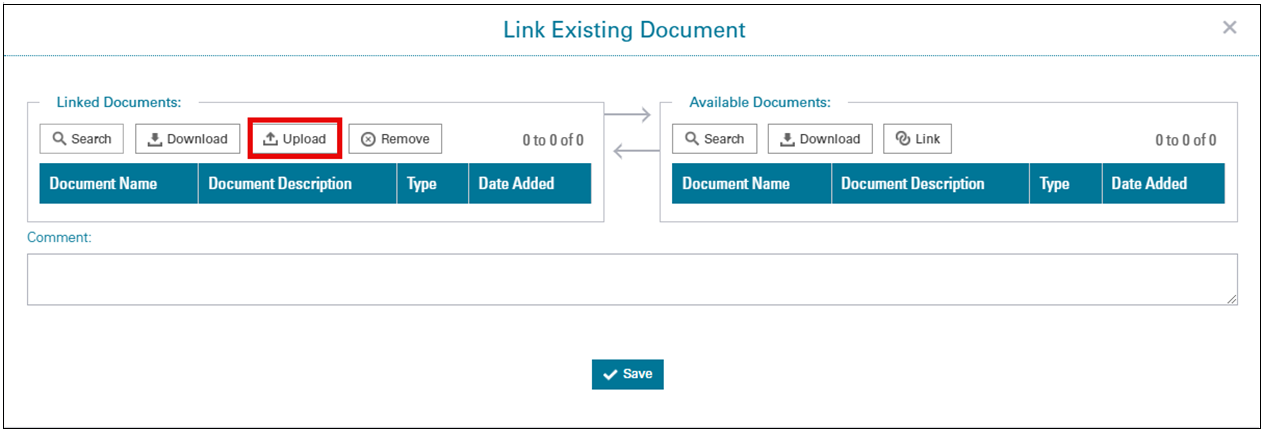
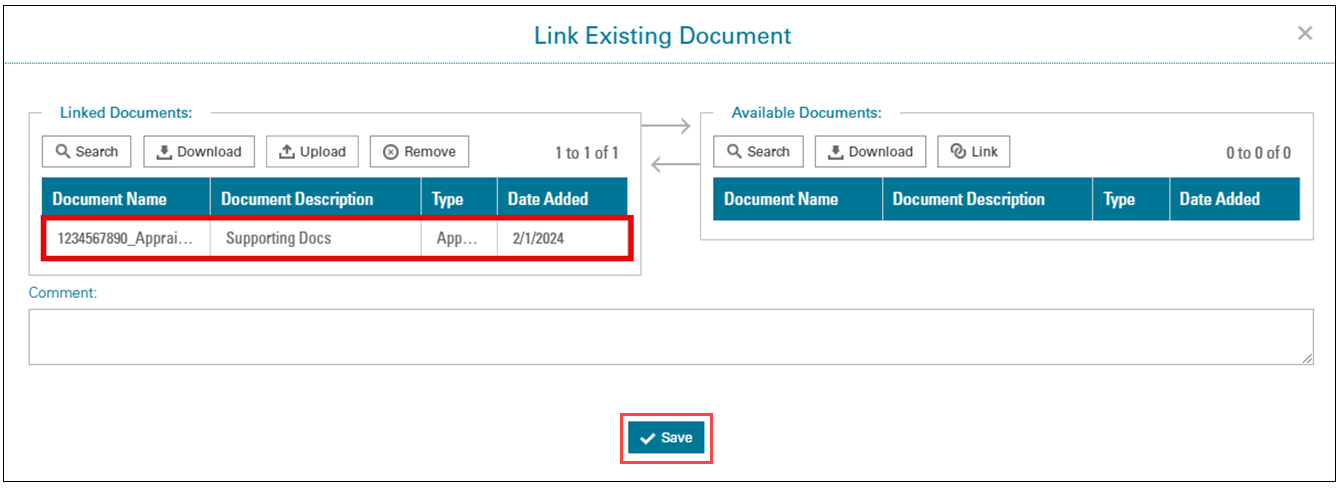
- Under Linked Documents section click Upload to upload new documents.
- From the Upload Document screen, select the Category and Type of document you want to upload from the drop-down menu, and enter a Description of the document.
Note: each document should be specific to the Document type. Please avoid selecting LoanFile as the Document Type unless a loan file is specifically requested, as this may cause delays in the review process.
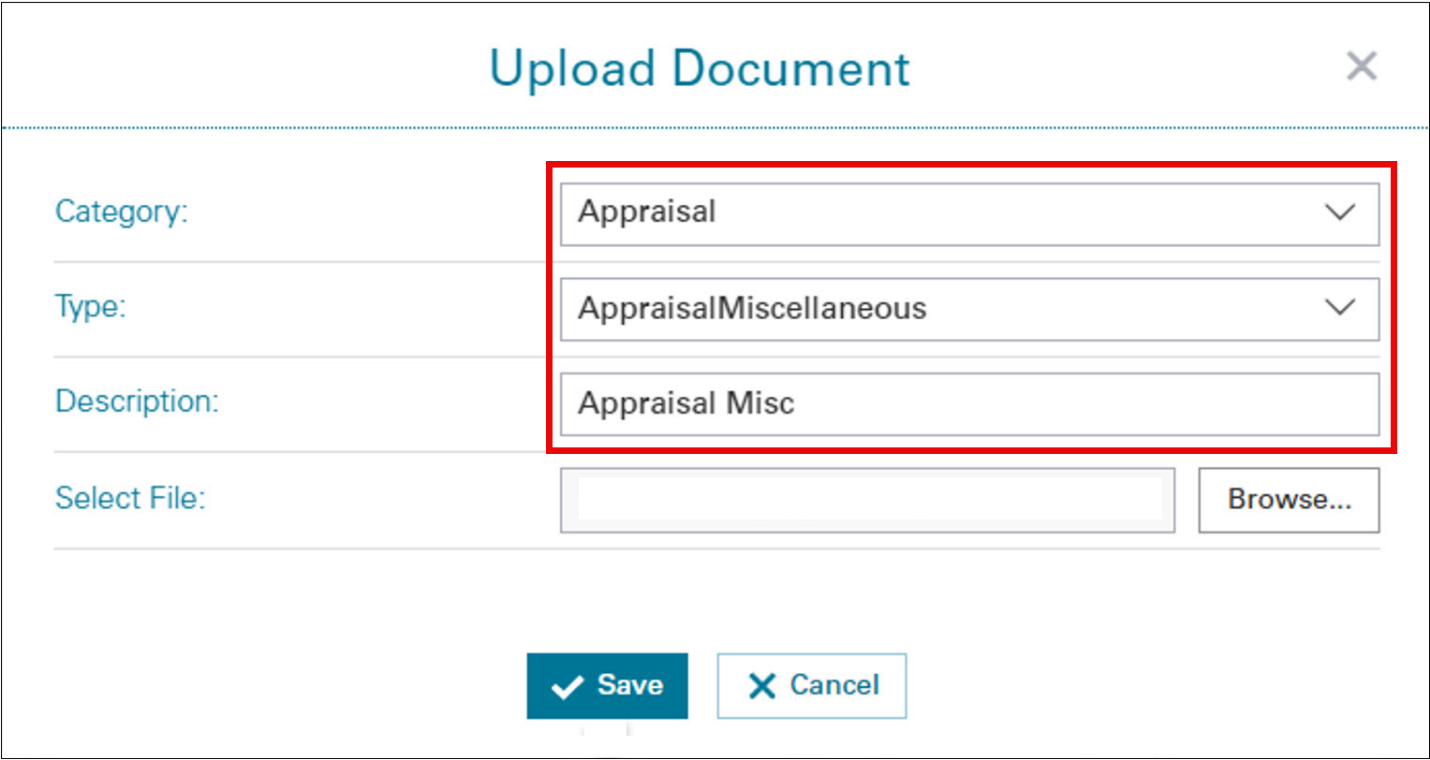
- Click Browser to open your local directory. Select the document you want to upload, and click Open.
- Click Save.

- Click Okay if the message indicates the file uploaded successfully.
- The uploaded document now displays in the Link Documents section. Click Save.
Note: Once the loan has moved to Notice of Potential Defect status, any newly uploaded documents by the lender is listed on the Remedy Status tab.
Note: If a document is uploaded before the Notice of Potential Defect, it is listed on the Documents tab.

Note It is not necessary to upload documents that were in the origination file as those documents have already been reviewed. Only Significant Defect(s) need to be addressed by the lender.