My web
Bulk Upload of Loan Files or Documents
![]()
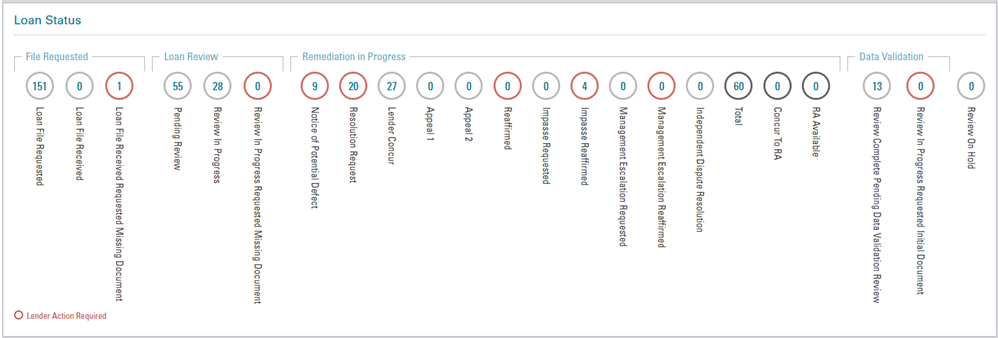
Save time by uploading loan files and/or documents using Loan Quality Connect's drag-and-drop feature.
Before uploading files or documents:
Make sure you have access to Loan Quality Connect. If you are a first-time user with no prior access to Loan Quality Connect, contact your company's Technology Manager Administrator to get your login credentials.
Format your file correctly. All pages you plan to upload must be merged into a single PDF file with a page size of 8.5" x 11" or 11" x 14". Do not use the PDF Portfolio functionality if you have it available. The maximum loan file size that can be uploaded via the Bulk Upload function is 400 MB per PDF.
When you are ready to save your PDF file, loan files must:
* Be in a single .pdf format.
* The name must start with the Fannie Mae Loan Number, followed by an underscore (_) and LoanFile as one word.
* In case the loan file is broken up in multiple .pdf files, number the files in a sequence i.e., LoanFile1, LoanFile 2, etc...
Below are examples how files must be named:
FannieMae Loan Number_LoanFile (123456789_LoanFile.pdf)
FannieMae Loan Number_LoanFile1 (123456789_LoanFile1.pdf)
For other documents, review the Document Upload Naming Convention job aid for a listing of Loan Quality Connect allowable document names.
Failure to upload files in the correct manner will result in an upload error.
Follow these steps to perform a bulk upload:
- After logging in to Loan Quality Connect, click Bulk Document Upload on the left menu. The Bulk Document upload screen appears, with the Document Upload tab active.
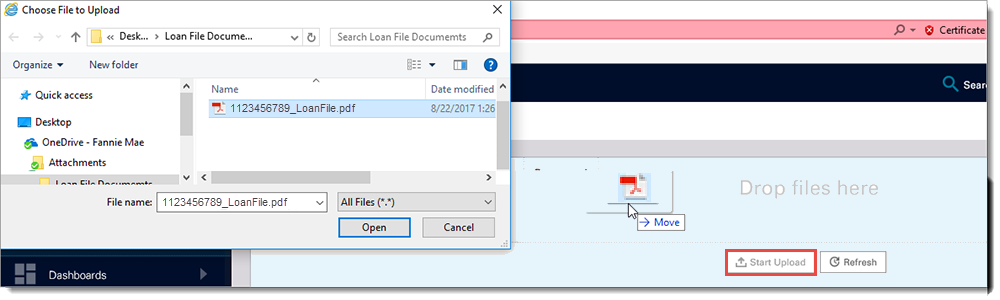
- Click anywhere in the Drop files here section of the screen.
The Choose File to Upload window opens.

- Verify all necessary pages are compiled in one PDF file. Do not use the PDF Portfolio functionality if you have it available. Word documents and Excel spreadsheets are not allowable.
- Click the PDF file – or hold down your Shift key to select multiple files – and drag it to the Drop files here portion of the screen. Click the Start Upload button.
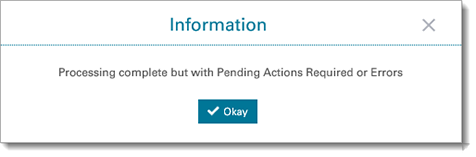
- The Information window displays, confirming the upload was successful.
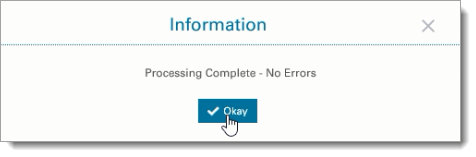
It will also notify you when there are pending actions you must take or errors that hinder the upload.
- If notified to do so, select the Pending Actions.
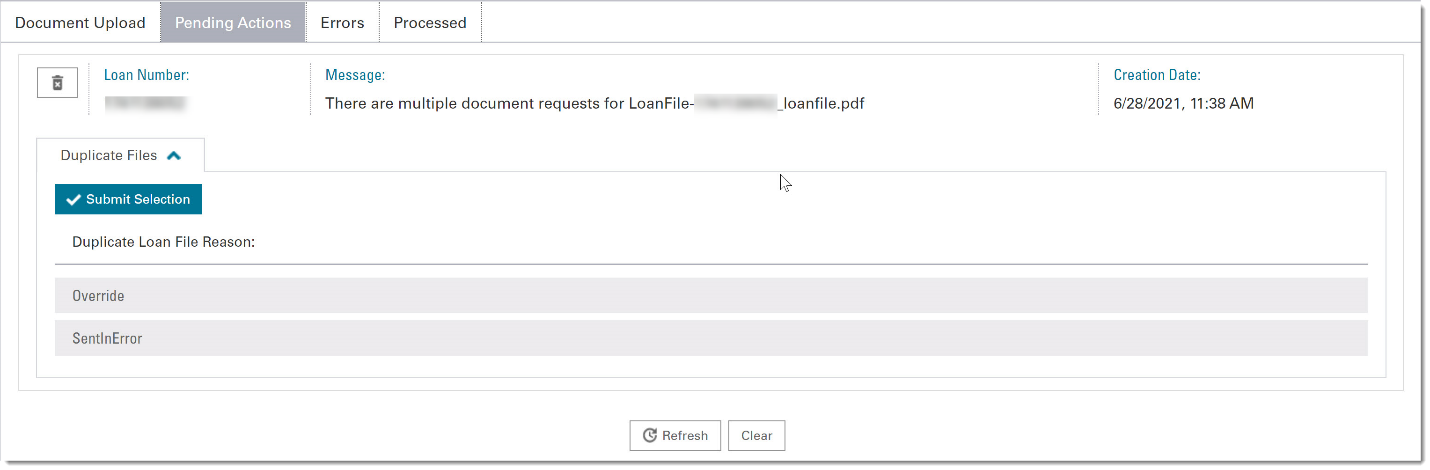
In order for the loan file to be submitted, you must remedy these actions with the following steps:
a. Expand the drop-down next to Duplicate Files.
b. Select Override.
c. Click Submit Selection and the loan will be submitted to Loan Quality Connect.
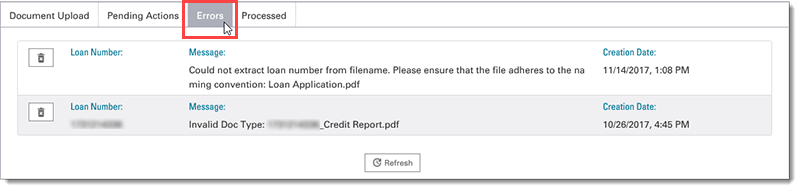
Note: Loan files showing on the Errors tab commonly do not meet the correct naming convention, have invalid file names, or are corrupt.
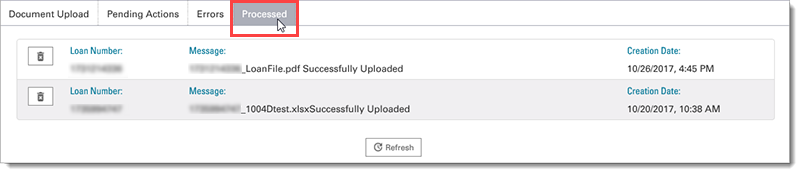
- Click Processed to view the time and date files were uploaded.
To confirm that the files uploaded successfully see the Confirming File Upload job aid.