My web
IP Address Restrictions
![]()
This job aid explains how to manage IP address restrictions, which validates user and system access by comparing to a list of allowable IP addresses. The feature allows access to users and systems based on their origination IP address. This is an OPTIONAL feature.
Follow these steps to access the IP Address Restrictions Configuration for your organization.
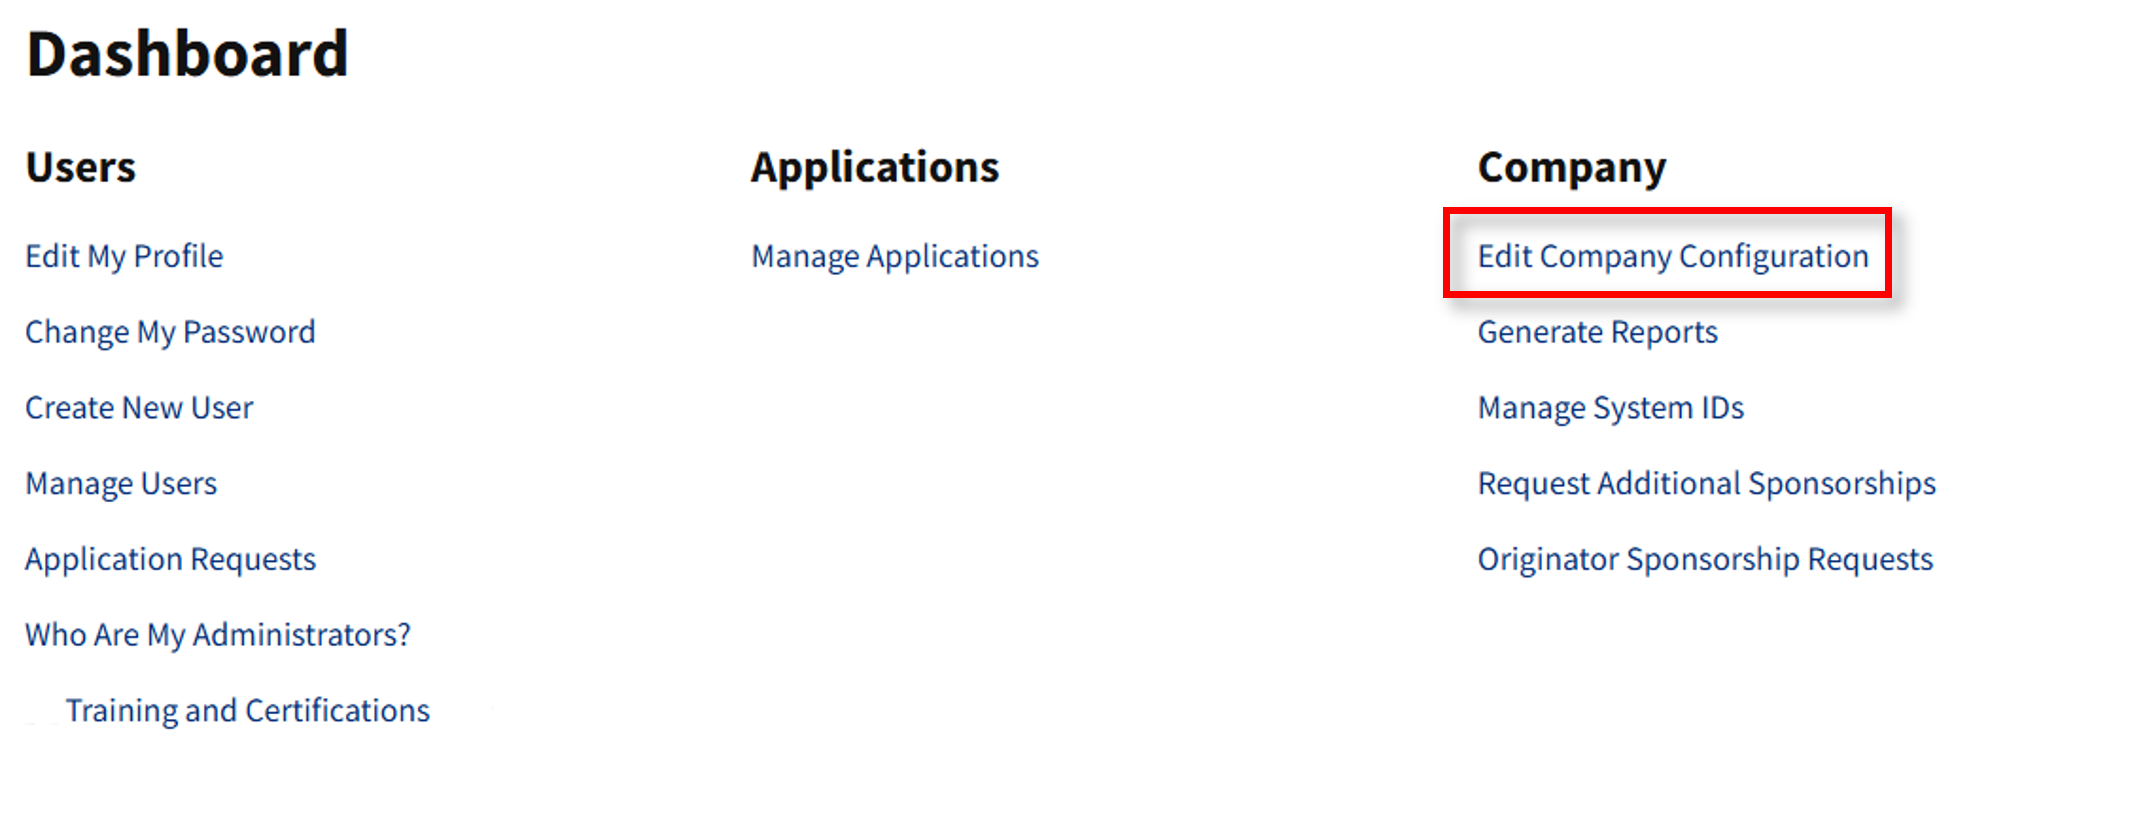
- From the Dashboard, select Edit Company Configuration.
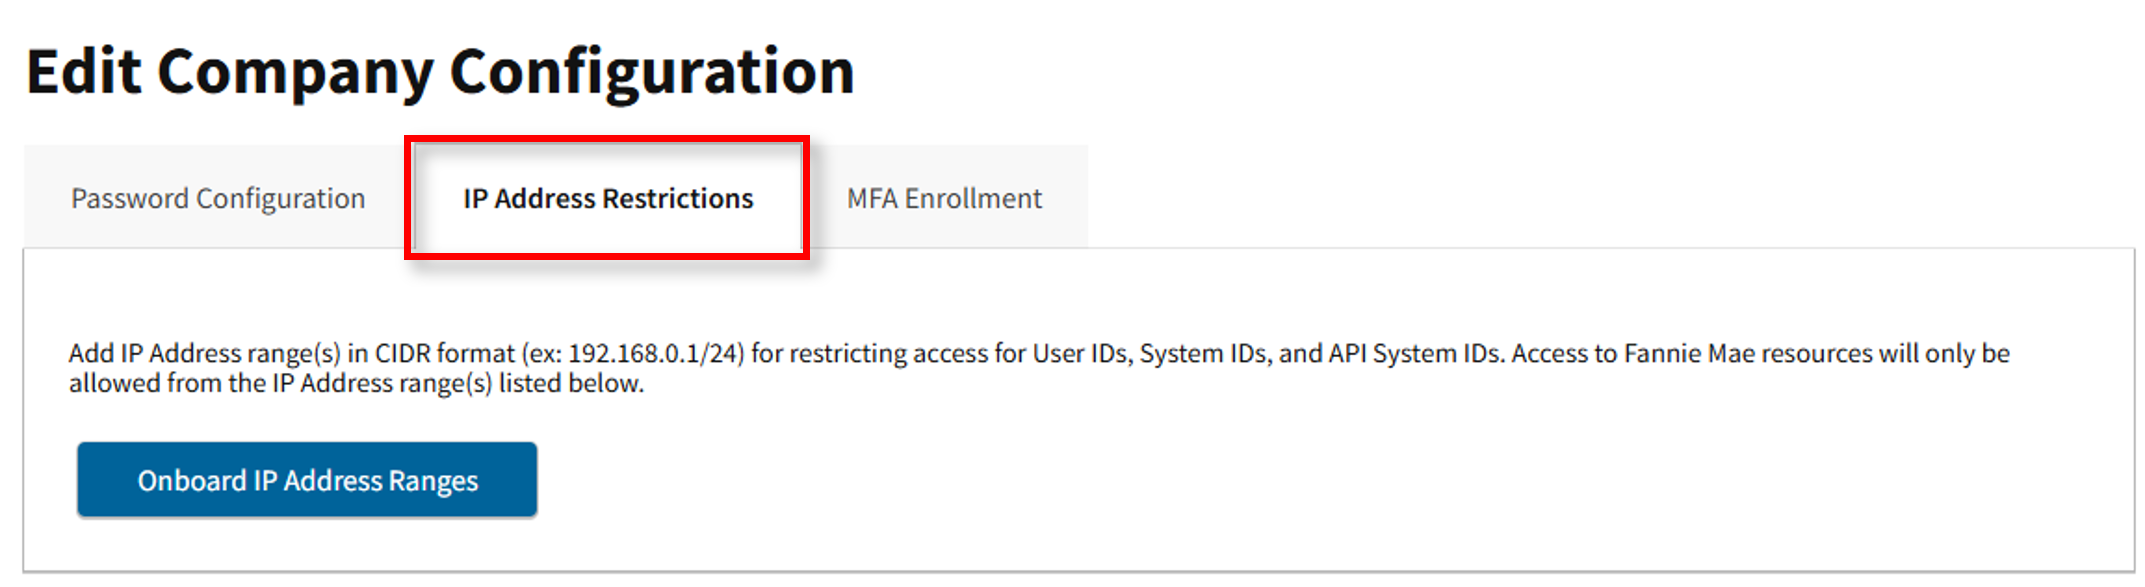
- The IP Address Restrictions tab appears.
This section explains how to set up IP Address Restrictions for your organization. Setup does NOT take effect immediately.
Note: To avoid interruption in service, please gather all required information before starting IP Address Restrictions setup.
This checklist is only indicative of required information and not exhaustive.
• IP address ranges in CIDR format (ex 192.168.0.1/24) that are applicable for System IDs and/or API System IDs.
• IP address ranges in CIDR format that are applicable for User IDs.
• If your organization is using a Technology Service Provider (TSP), you will also need the TSP IP address range.
• Custom IP allow list applies to the entire organization hierarchy, NOT only at the main Mornet Plus ID.
If after enabling IP restrictions your access to Technology Manager is blocked, please contact the Technology Support Center.
- From the IP Address Restrictions tab, select Onboard IP Address Ranges.

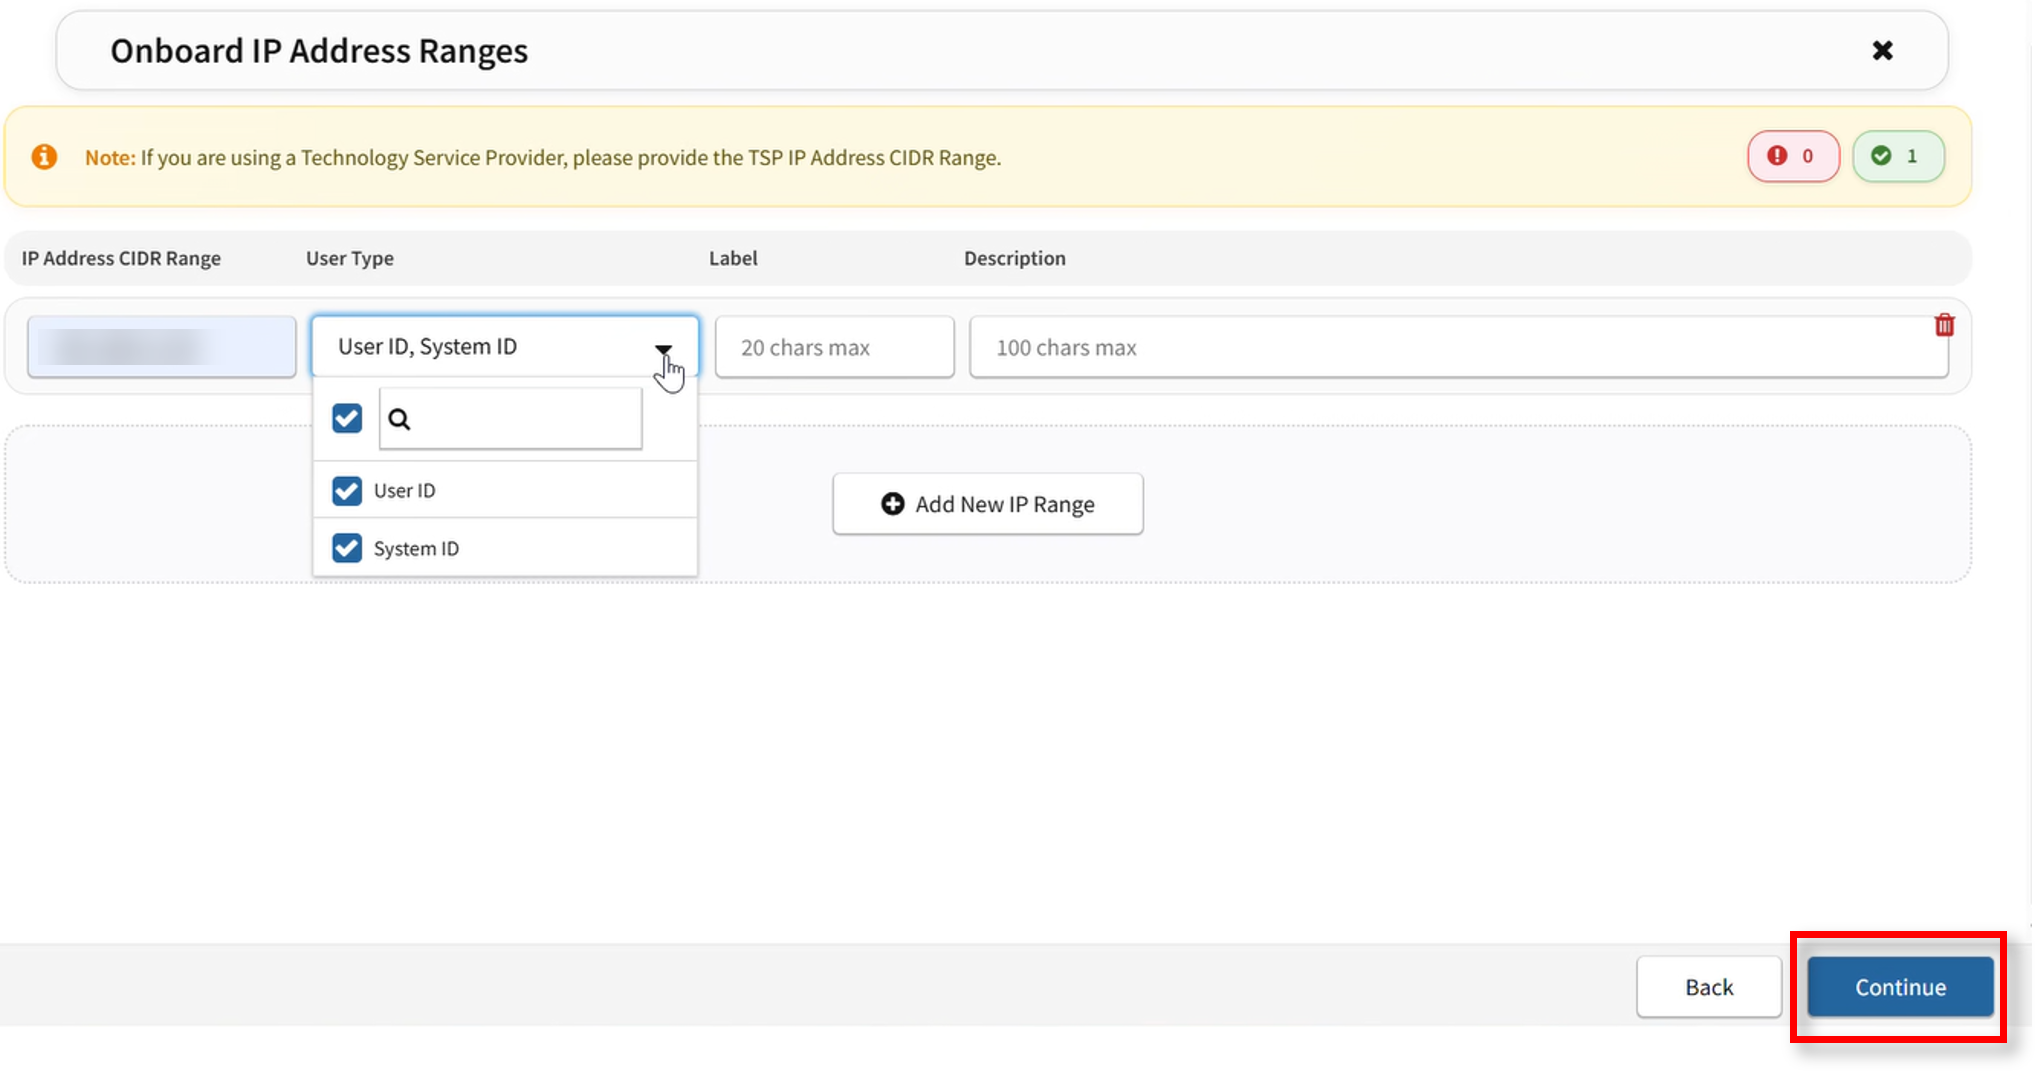
- The Onboard IP Address Ranges screen appears. Enter the required information, as applicable. IP address restriction can be applied to User ID, System ID or Both. Select the + Add New IP Range button to add an additional IP address range. Repeat until all applicable IP address ranges are entered. Another option is to copy and paste all IP ranges at once on the first line in the IP Address CIDR Range box. Additional lines display automatically.
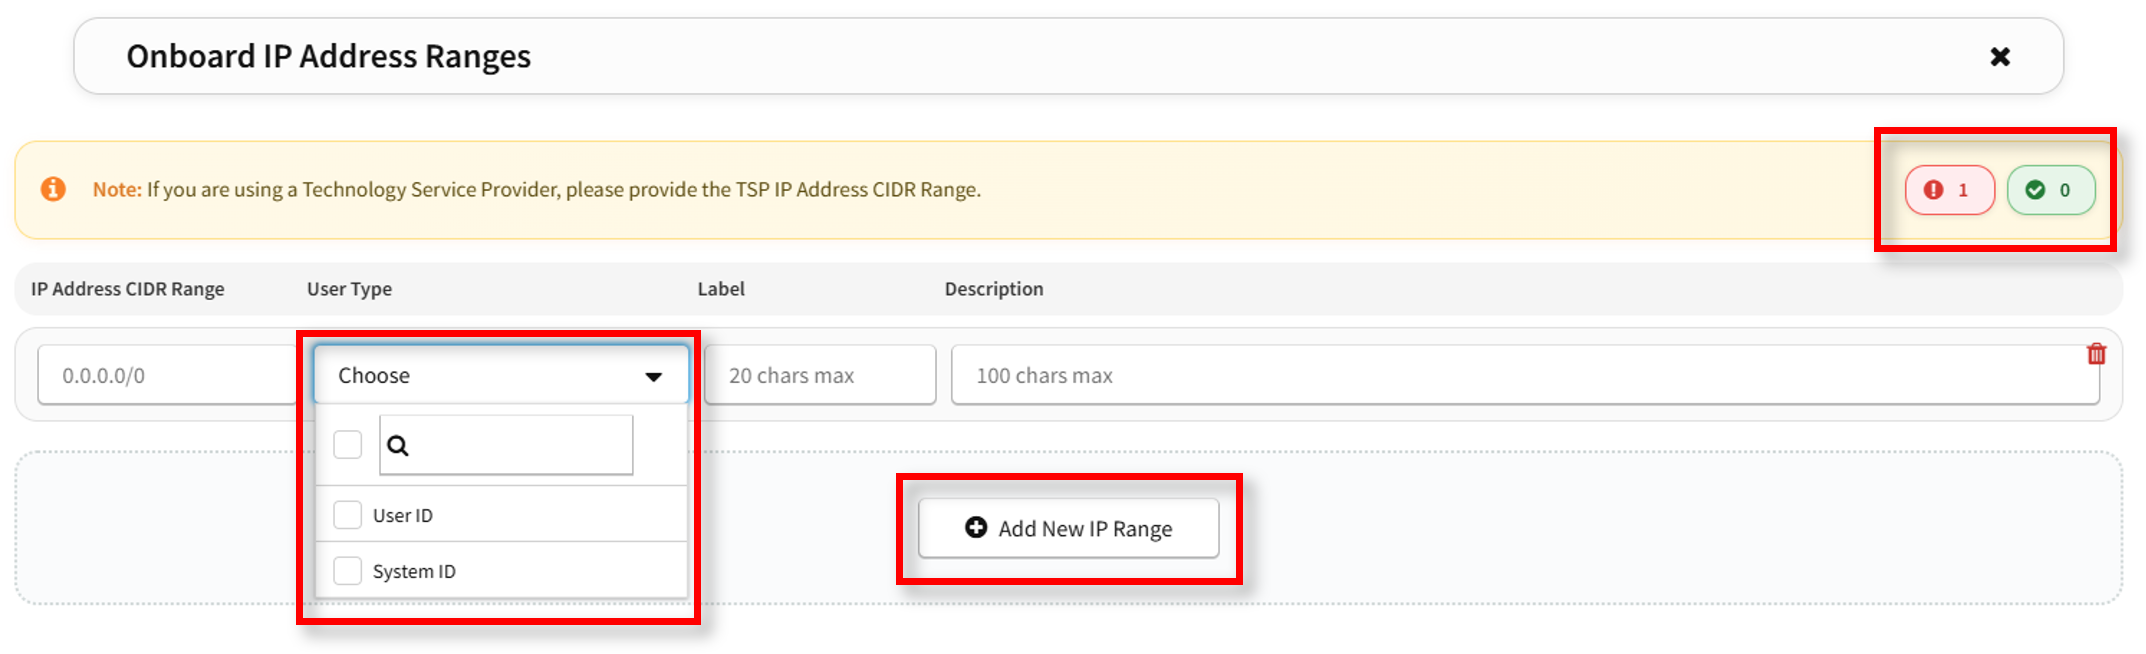
Note: Hover over red and/or green radio buttons in upper right corner to view current IP address status.
- Once all IP address ranges are entered, select Continue.
- The Onboard IP Address Ranges Confirm page appears. Review ranges for accuracy. If an error is found, you may select Back to update, then select Continue.
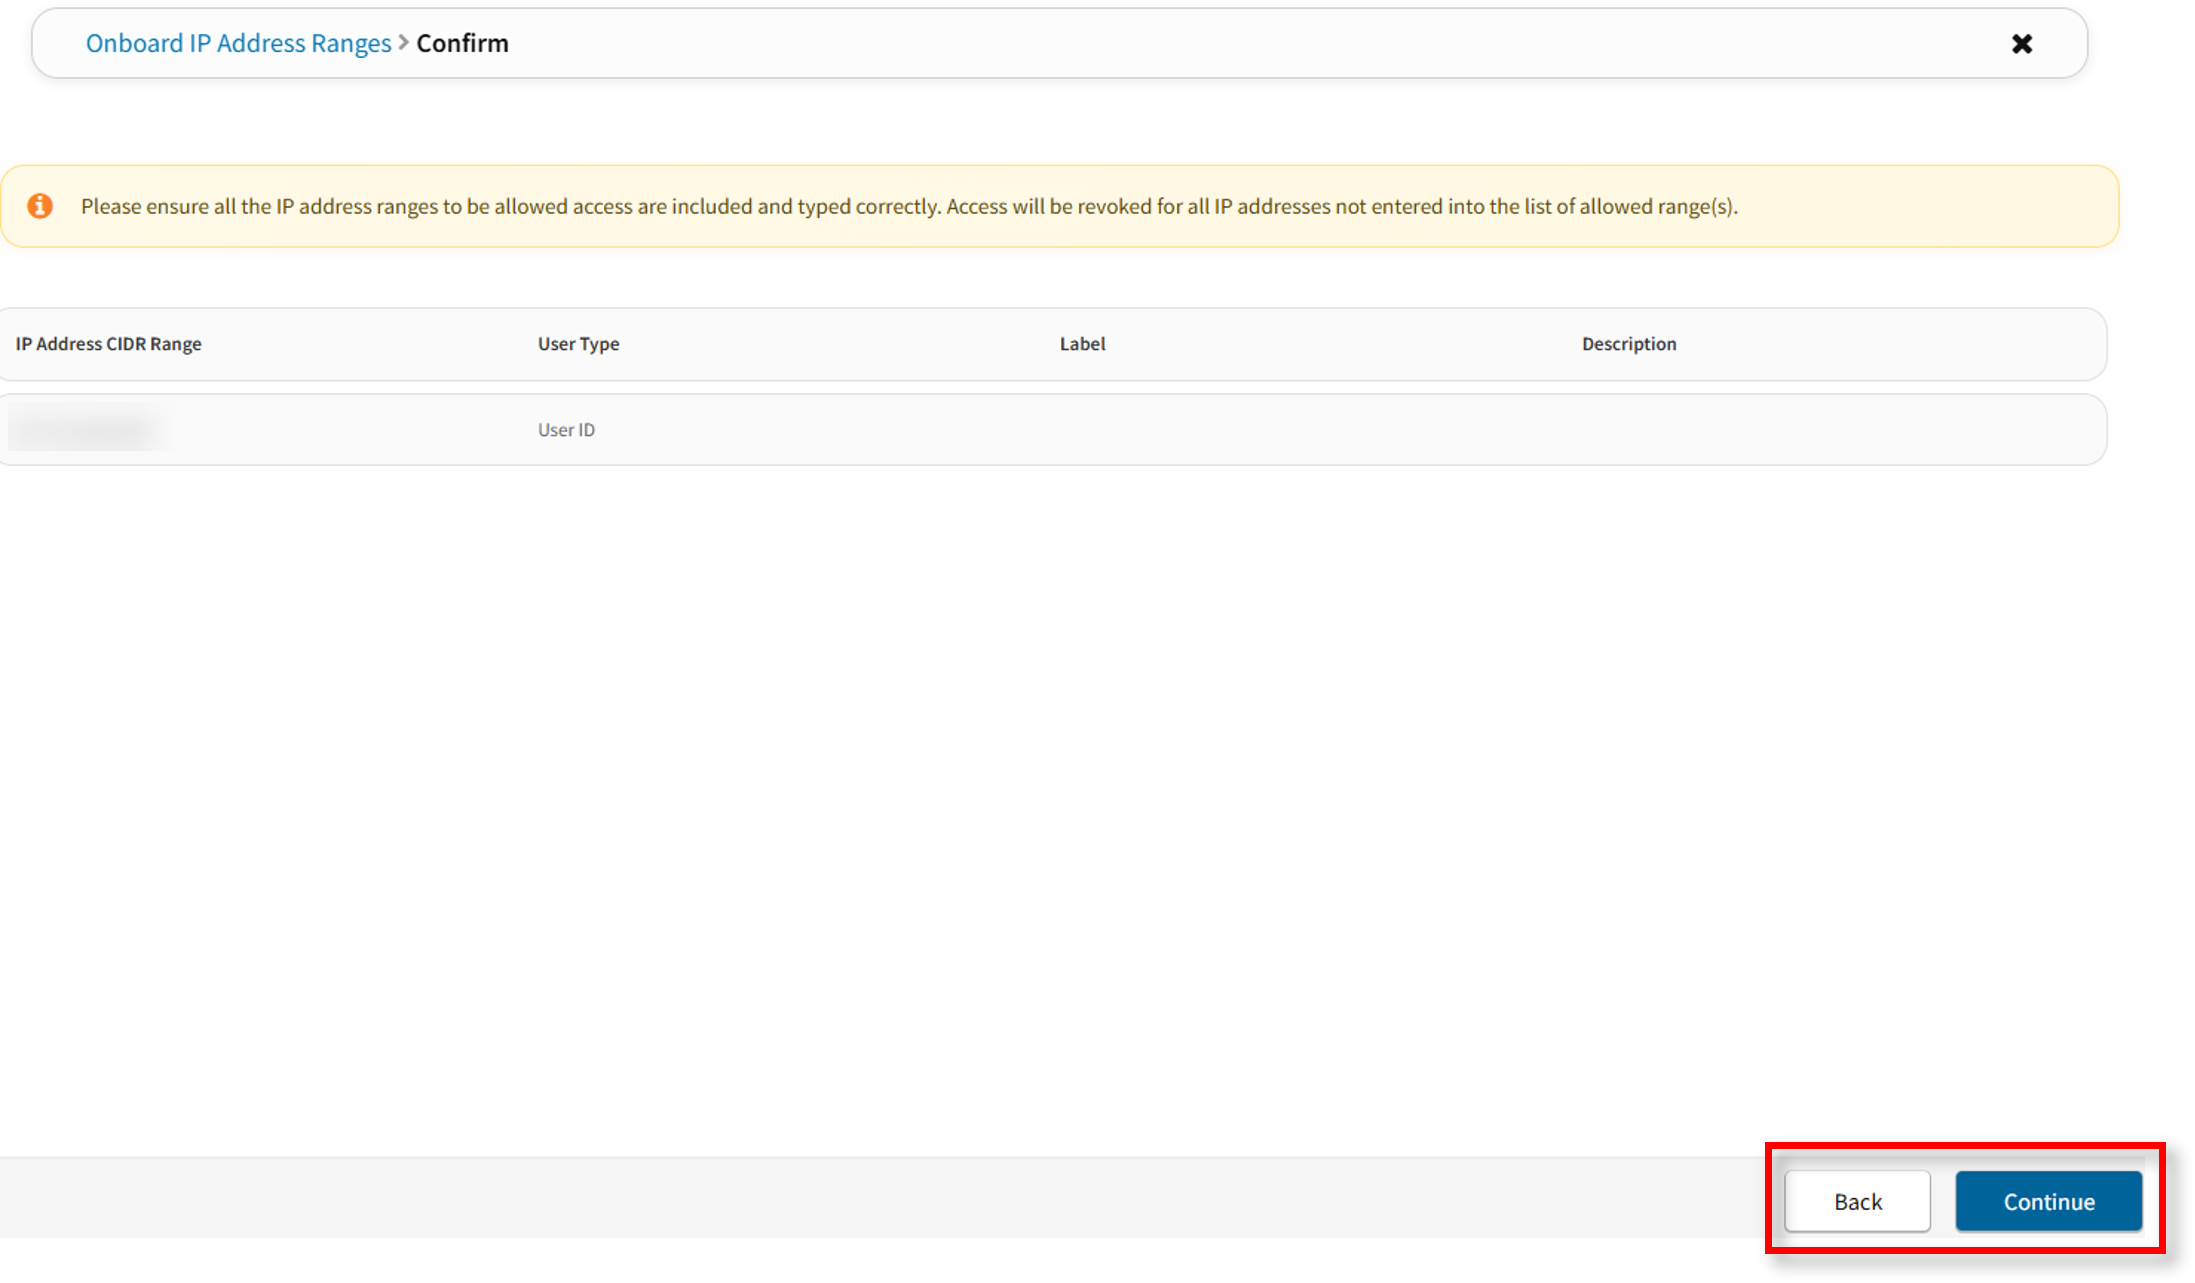
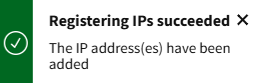
- The Registering IPs succeeded message appears at the bottom right corner of the screen.
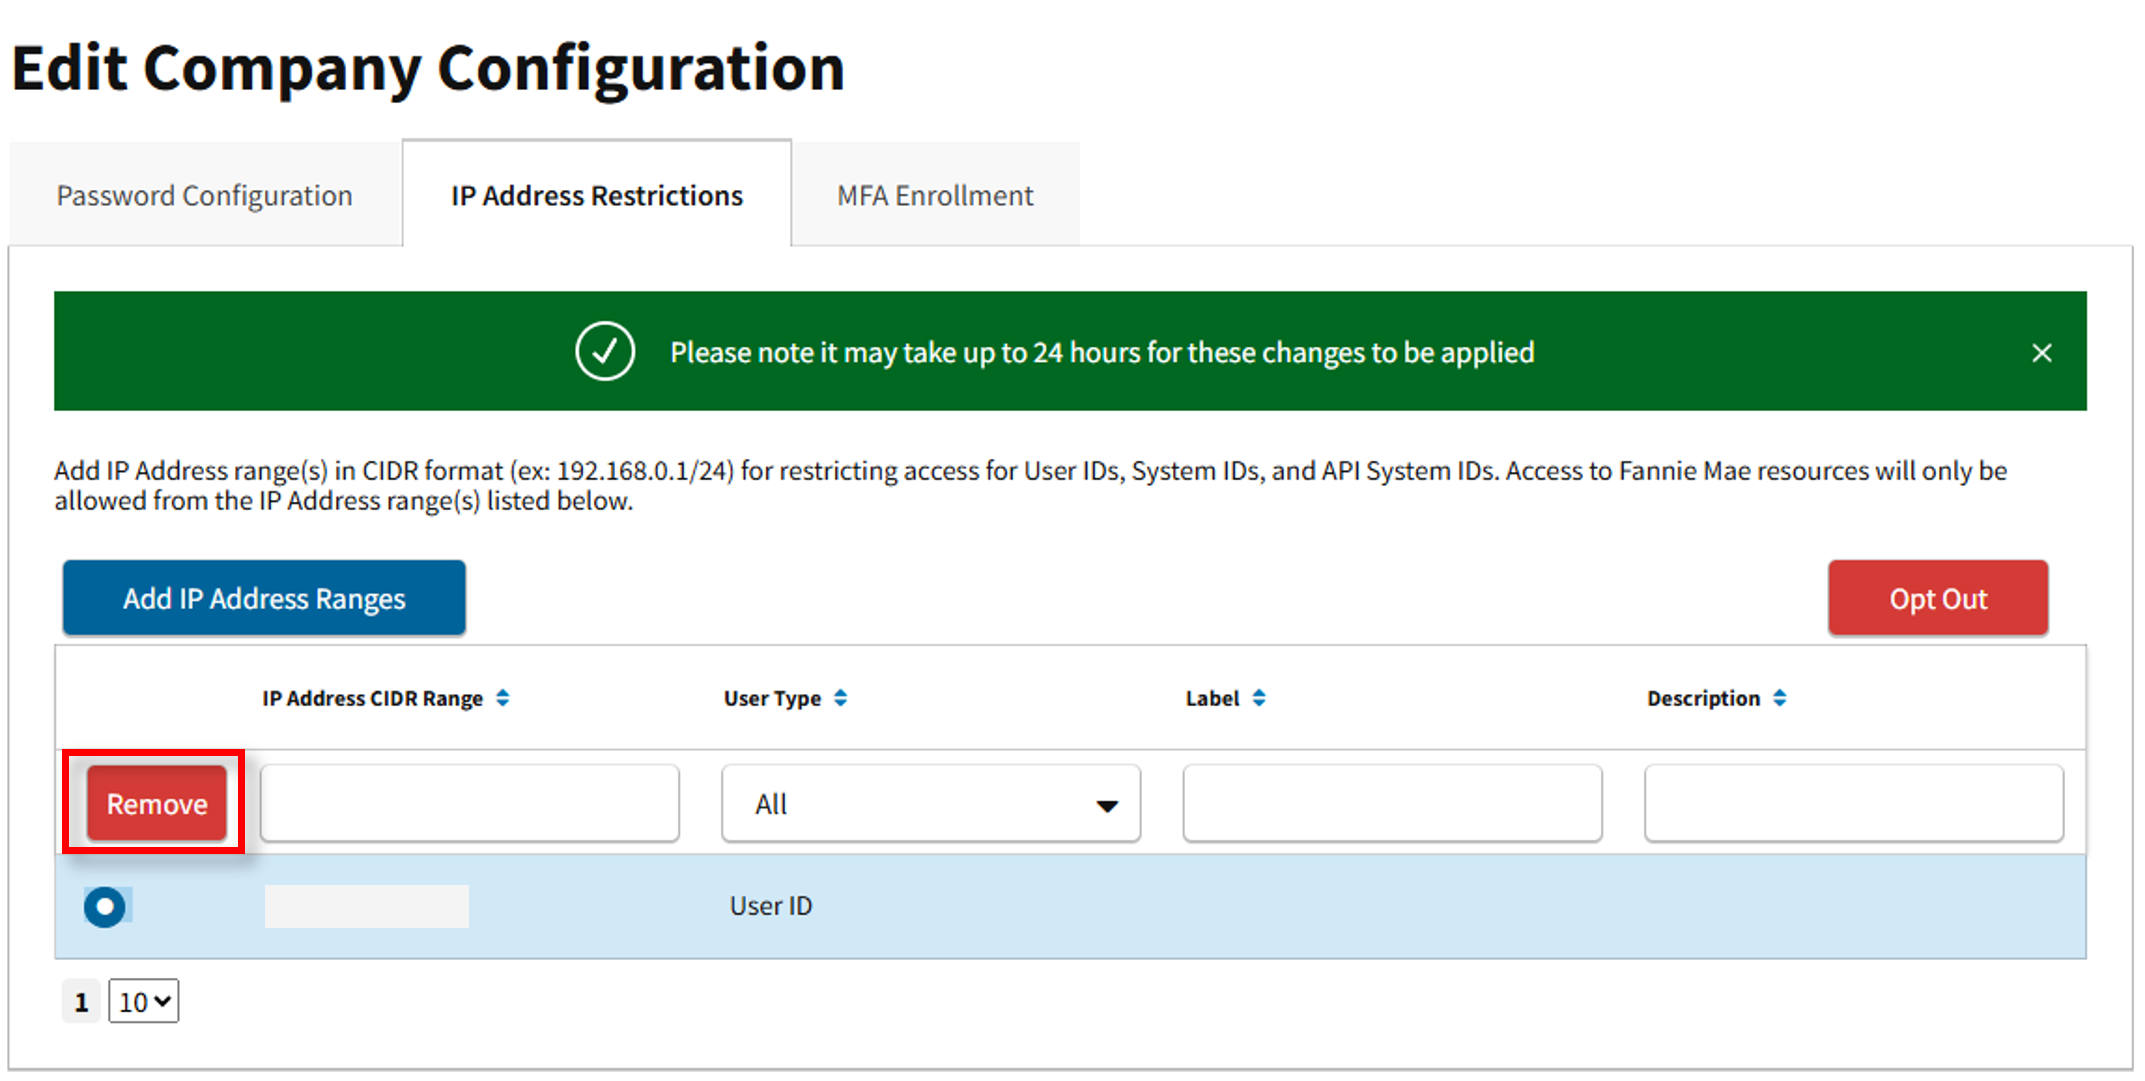
This section explains how to Remove IP Address Range(s) from your organization’s custom list of allowable IP addresses. Note, use the Remove button to remove an individual IP address.
- From the IP Address Restrictions tab, select the radio button in front of the IP address range you wish to remove. Repeat until all applicable IP address ranges are selected, and select Remove.
- When the Remove confirmation message appears, select Continue.
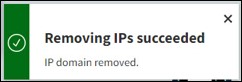
- The Removing IPs succeeded message appears at the bottom right corner of the screen.
This section explains how your organization can use the Opt Out IP Address Restrictions option.
Using the Opt Out option removes all IP address restrictions for User and/or System IDs. It may take up to 24 hours for restrictions to be removed.
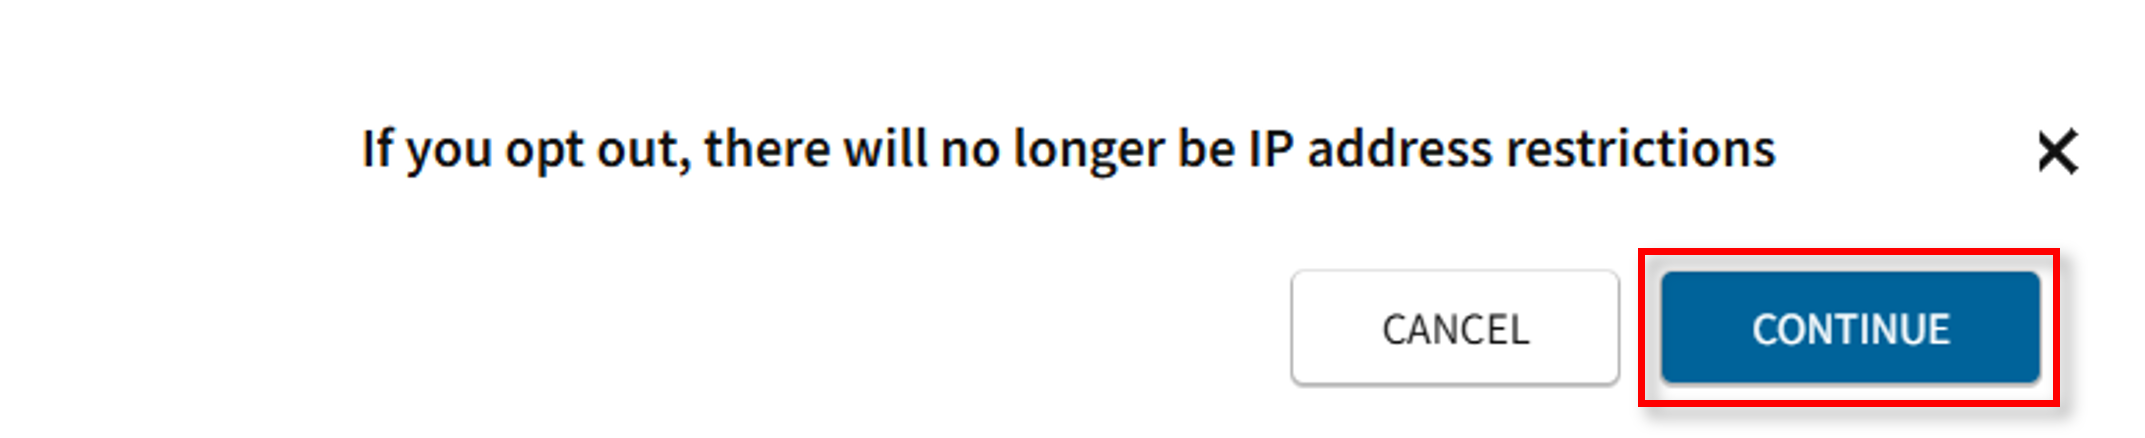
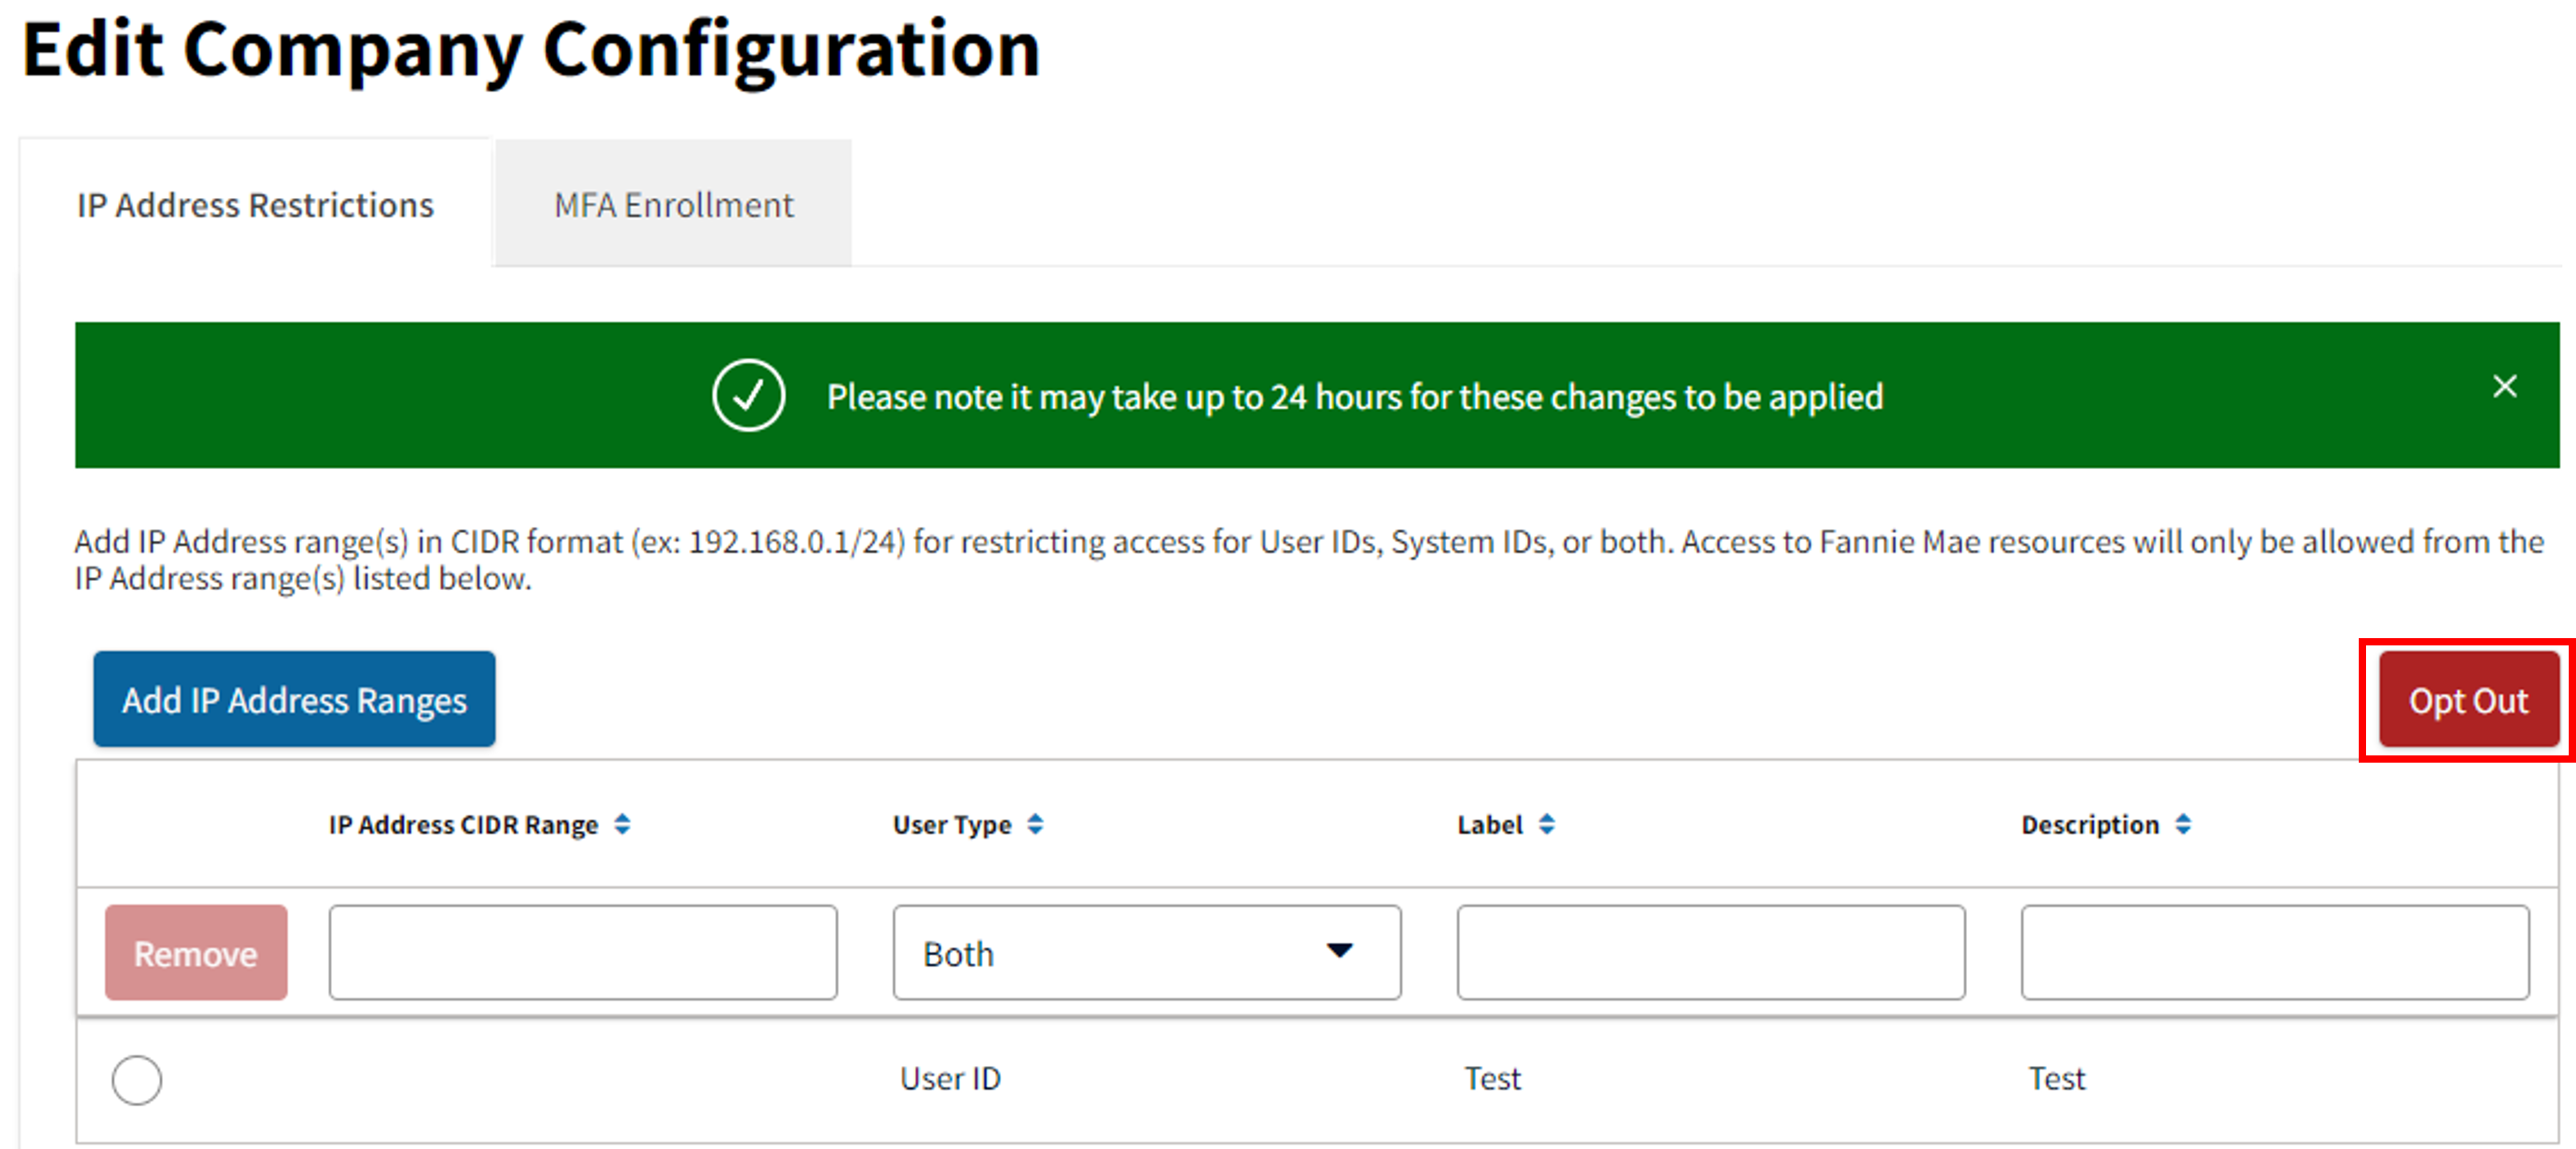
- From the IP Address Restrictions tab, select Opt Out.
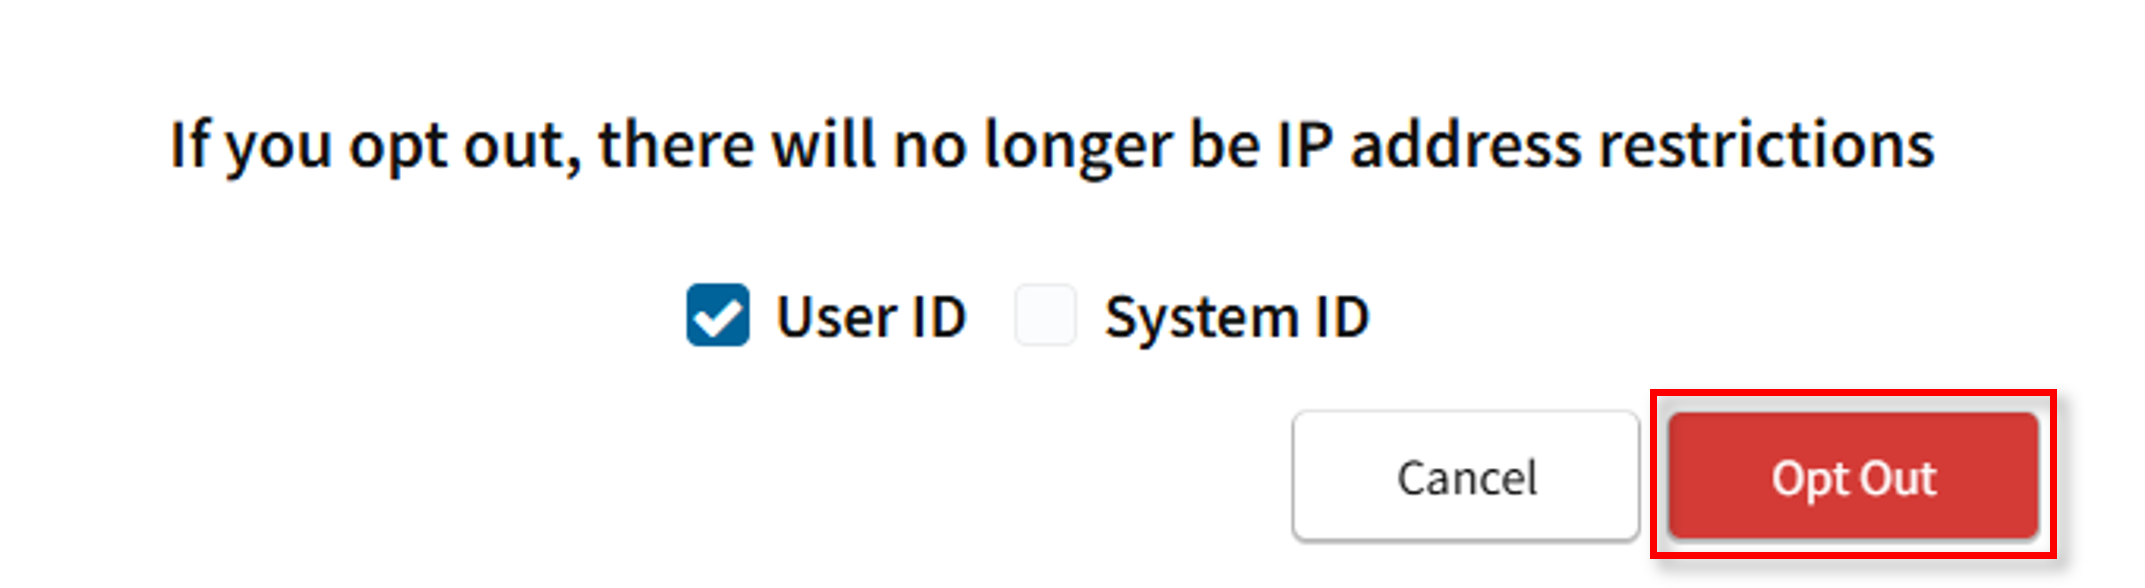
- When the User Type screen appears, select the desired option and then select Opt Out. You can choose to opt out IP address restrictions for User ID, System ID or Both.
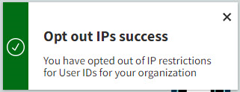
- The Opt out IPs success message appears at the bottom right corner of the screen.
If an error message is encountered during your attempt to complete IP registration and/or removal, please refer to the Technology Support Center.