My web
Set Up an Available Application
![]()
There are certain applications—which appear in theAvailable Applications list of theManage Applications screen—that you can set up for an organization. These applications need to be first set up for user groups and data folders before they can be further associated to users within an organization. An available application may require a Corporate Administrator's consent to specific Terms and Conditions.
When you first set up an application, a default User Group Name and User Group ID will be granted to the application under the main 5-digit organization. In addition, the application needs to be set up for user groups and data folders before it can be further associated to users within an organization.
Note: Although the procedure is similar for each application, the screen, section, and link names may vary, depending on the Application Business Rules.
To set up an application that appears in the Available Applications list proceed with the following:
- From the dashboard, select Manage Applications.

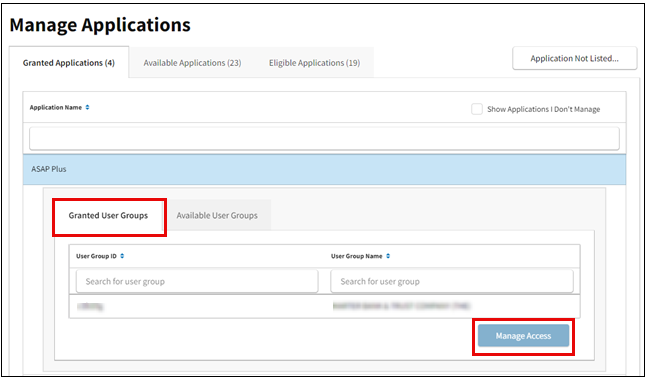
- TheManage Applications screen appears with a list of granted applications. Confirm the desired application does not already appear in theGranted Application list. If it does, this procedure does not need to be performed.
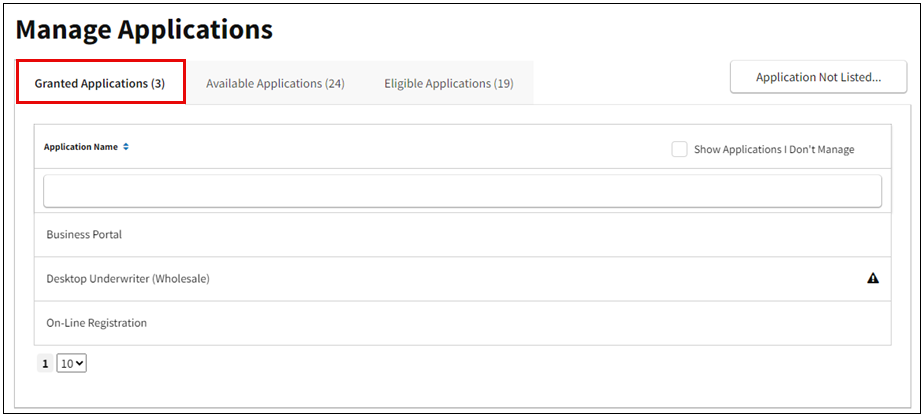
Note: You may place your cursor over the icons  shown on the screen to read a message for the application.
- Select theAvailableApplications tab. The list of Available Applications that you can set up for your organization appears.
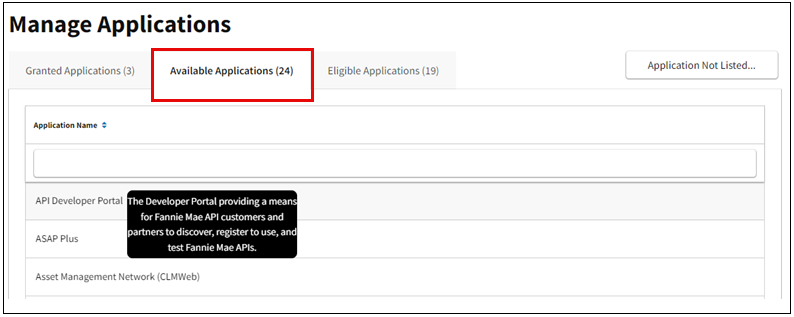
Note: You may hover over application name and view application description.
- Depending on the application selected, there are various screens that will appear.
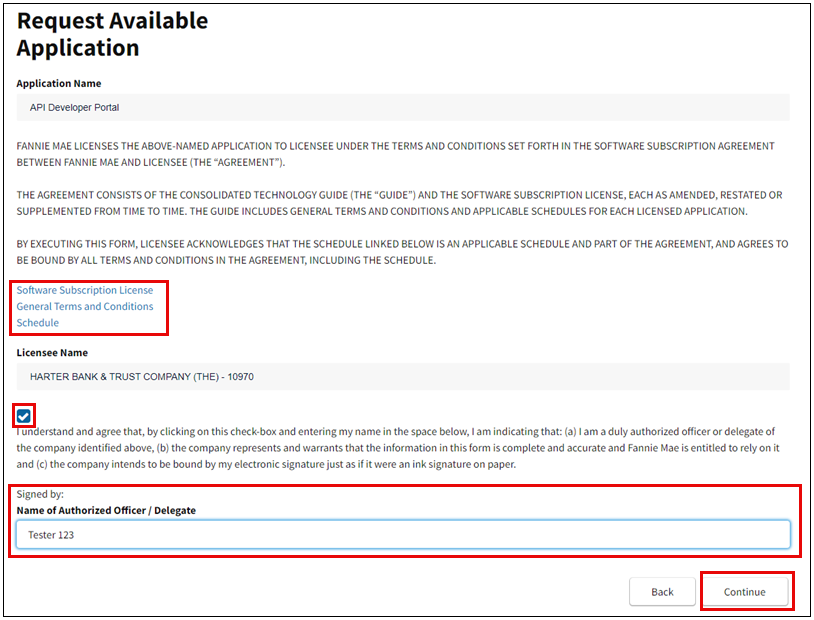
a. Request Available Application screen may appear. Here you can view the Software Subscription License, General Terms and Conditions and Schedule. Selectcheck box and indicateName of Authorized Officer/Delegate. SelectContinue.
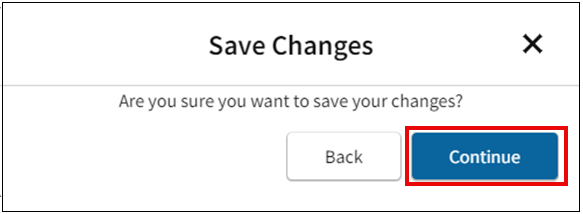
b. If the application does not require data folders, theSet Up Application screen appears. SelectSave Changes. TheSave Changes screen appears. SelectContinue.

c. TheManage Applications screen appears and here you willManage Granted User Groups, refer to the Technology Manager: Granting Access to an Application to proceed.
d. If you select an application that requires data folders, theSet Up Application screen will appear. Select the data folder(s) from the left column you wish to assign to the application, then click '>' to add the data folder. SelectSave Changes.
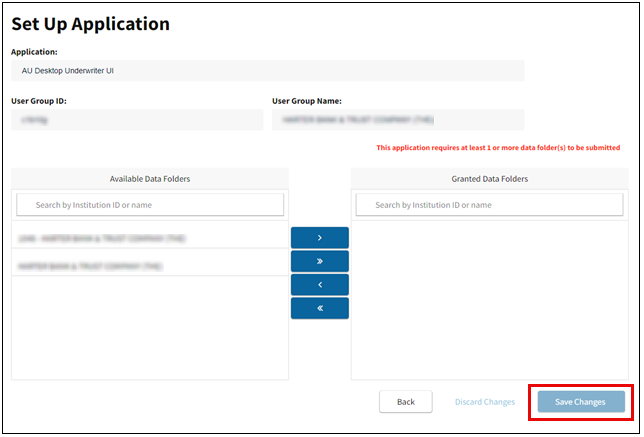
e. TheSave Changes screen appears, selectContinue.