My web
Uploading DVC Data Defect or Adjustment Documentation
![]()
All documents requested by the Data Validation Center (DVC) team and those you want to submit to support the rational to rebut a DVC data defect or adjustment can be uploaded in Loan Quality Connect. Once uploaded, you will receive immediate validation that the upload was successful and accepted by the system.
This job aid describes where ou can upload documents when you log in to Loan Quality Connect:
- The Document Tab
- The Data Validation Tab
Note: When you agree/disagree, add all documents to the loan review before clicking Submit. Otherwise, the review will drop from the active queue. You can still add the documentation using search functionality.
Follow these steps to upload documentation after logging in to Loan Quality Connect:
-
Click DVC Response Queue, and then click the BI card for the service level agreement (SLA) category you want to work on.
In the example, loans with a DVC Initial Lender Action Requested, Outside SLA status populate the search result area under the BI cards. -
Click the loan of your choice, and then click View – or simply double click the loan – to open the Loan Details page and perform further actions on that loan.
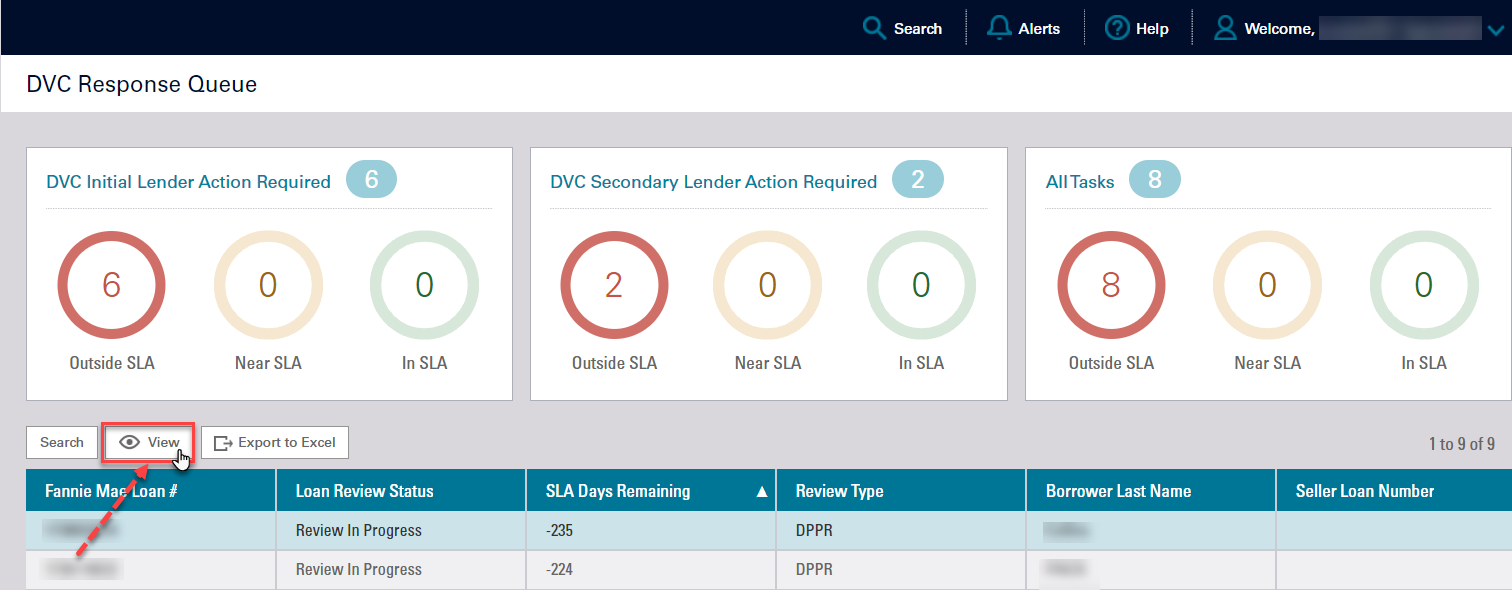
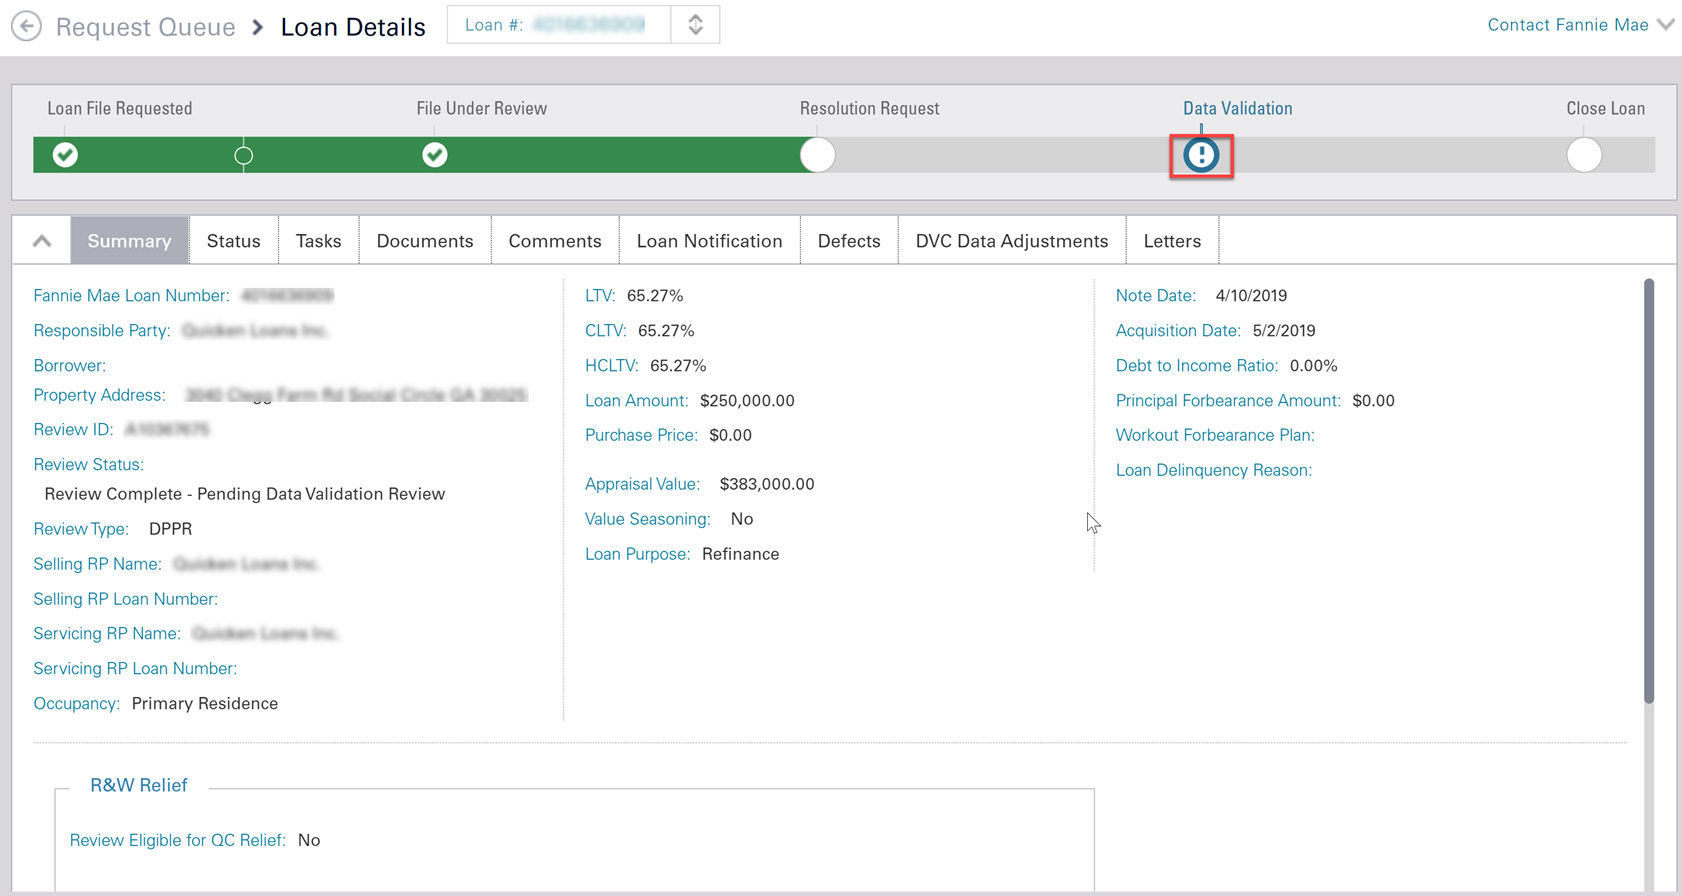
The Loan Details page opens, defaulting to the Summary screen.
-
Click the Documents tab, and then Upload Additional Document.
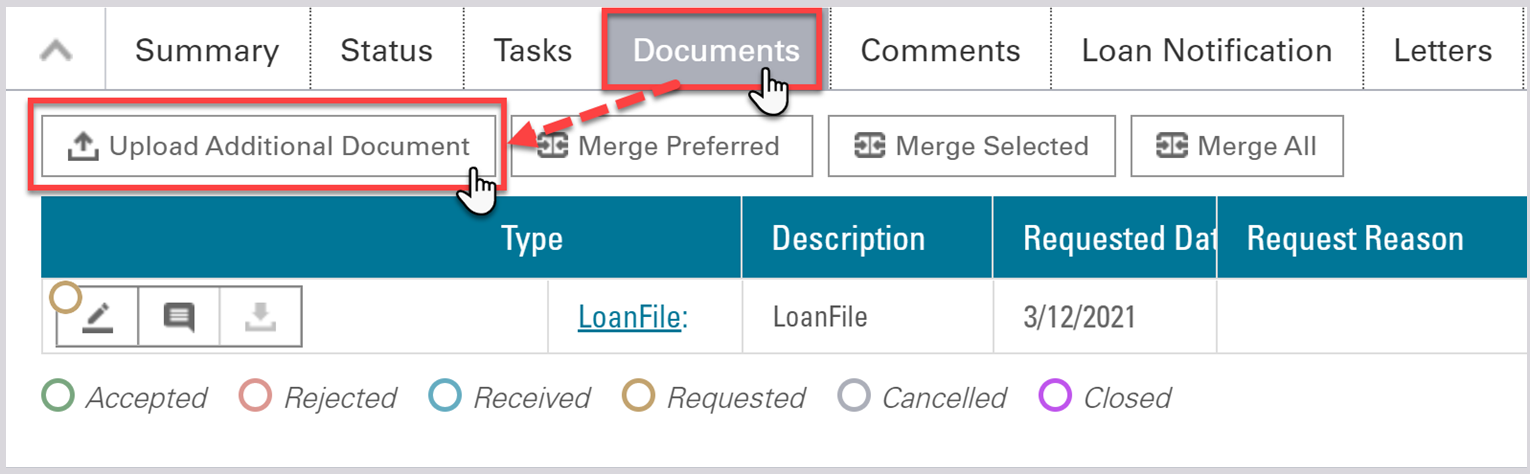
The Upload Document window opens.
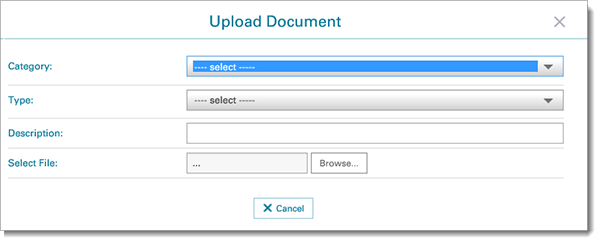
-
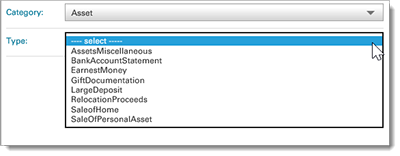
Select the Category and Type of document you want to upload from the drop-down menus.
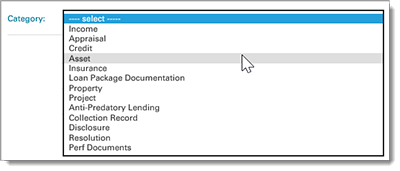
Asset is selected in our example. This causes the Type drop-down menu to populate with options relevant to the Asset category.
-
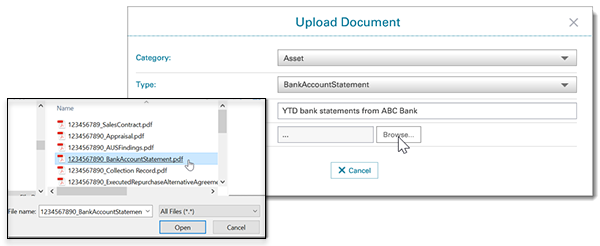
Click Browse, select the file to upload and click Open.
Note: When uploading individual documents, do not use the LoanFile document type as this may cause delays in the loan review process.
- Click Save and Okay.
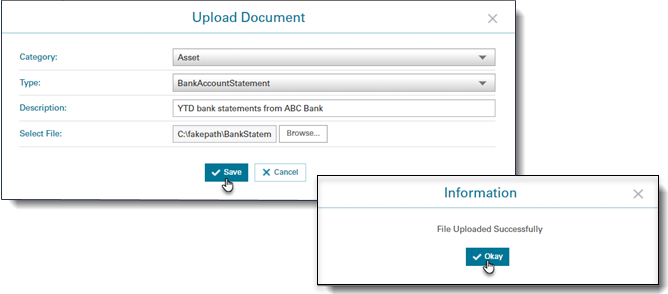
- Click Okay.
