My web
Responding to an Initial DVC Data Defect or Secondary Lender Action
![]()
Responding to an Initial DVC Data Defect or Secondary Lender Action
A Data Validation Center (DVC) review can be performed for a data only issue or after a full file loan review has been completed and Fannie Mae retains the loan. All DVC reviews are now performed in Loan Quality Connect – you don’t have to log in to any other systems. Uploading DVC documents in Loan Quality Connect means you’ll see data changes and trade comments with reviewers in real time, eliminating manual workarounds.
When Fannie Mae notifies you in Loan Quality Connect of a proposed DVC data defect or secondary lender action, you can elect to:
- Agree and provide requested documentation,
- Disagree and provide the documentation supporting your rebuttal, or
- Request additional time to provide requested document.
If you choose to disagree with the data defect(s), Fannie Mae will evaluate your rationale and supporting documentation before making its decision. If your rebuttal is accepted, the DVC review will be closed. If further action on your part is required or if Fannie Mae disagrees with your rebuttal, the loan will be placed in DVC Secondary Lender Action Required status.
Follow these steps to respond to a DVC Request (Initial and Secondary Lender Action) after logging in to Loan Quality Connect:
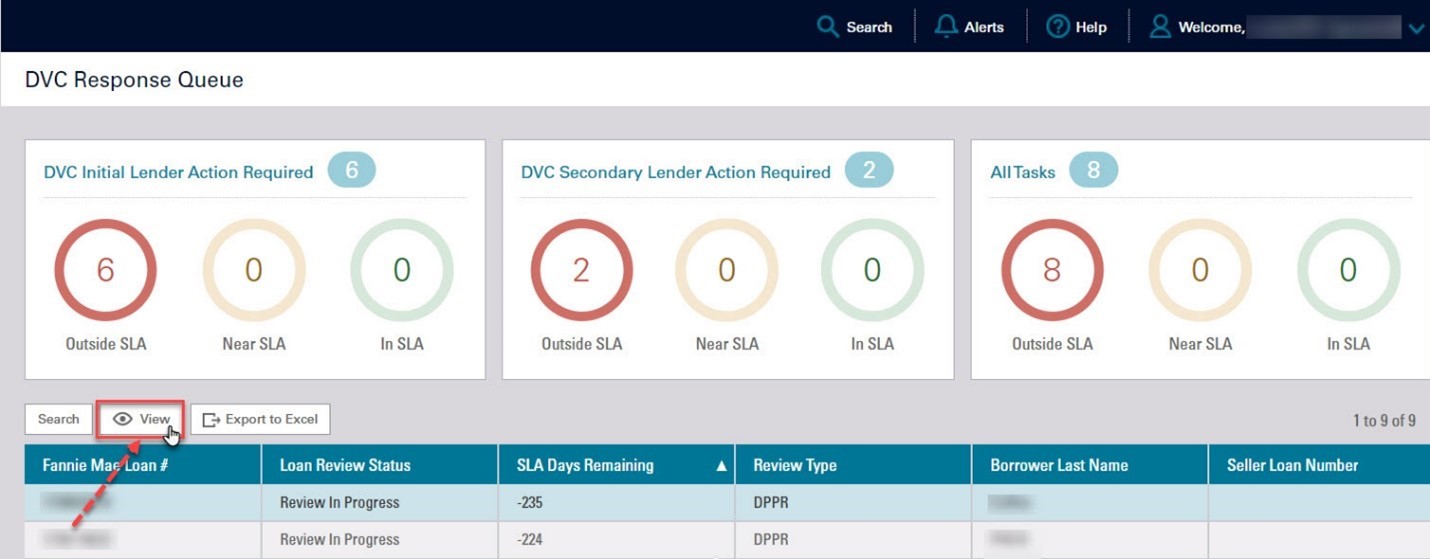
- Click DVC Response Queue.

- Click the business intelligence card (BI) card for the service level agreement (SLA) category you want to work on. Loans within the selected SLA category display below the BI cards.
DVC Initial Lender Action Required - initial finding found by the DVC analyst that could result in a data change or loan ineligibility.
DVC Secondary Lender Action Required- additional action required by the lender if the rebuttal information is unacceptable or if any additional documentation is required.
All Tasks- the total of initial and secondary actions required.
In the example below, the Outside SLA BI card is selected because those loans have exceeded their SLA timeline and become a priority in the workflow. Loans with a DVC Initial Lender Action Required, Outside SLA status populate the search result area under the BI cards.
Note: See Service Loan Agreements (SLAs) for an explanation of each SLA category.
- Click the loan of your choice, and then click View – or simply double click the loan – to open the Loan Details screen and perform further actions on that loan.
The Loan Details page opens, defaulting to the Data Validation screen. Confirm that the loan information on the Summary screen is accurate.
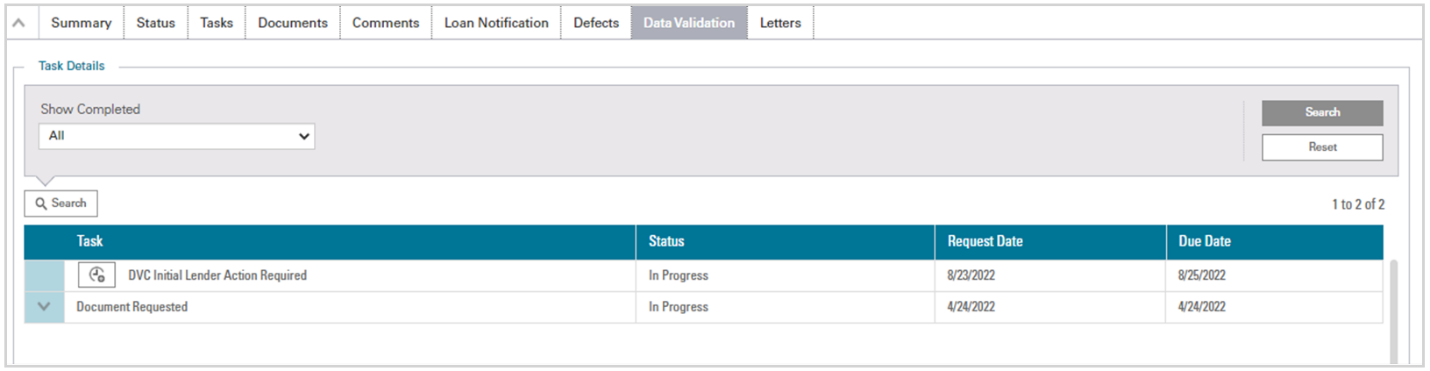
The green progress bar at the top of the screen is updated based on the current task associated with the loan review. For loans needing a data change only (no file review was completed), the progress bar will reflect File Under Review. If the loan file has been reviewed and moved forward to DVC Initial or Secondary Action Required, it will be updated to reflect Resolution Request. Once the Lender has the chance to review the defect(s) and associated comments, they can agree with the defect(s) or disagree and provide an appeal to cure the defect(s). If the loan requires a data change, the progress bar will move forward to Data Validation. After the Lender has agreed to the data change, Fannie Mae will submit the data change on the Lender's behalf. Once the data change has been confirmed as completed, Fannie Mae will assign a Final Action Code to the Review and the progress bar will be updated to reflect Close Loan.
Note: You can click the information icon under File Under Review on the progress bar to see the status of the DVC review.
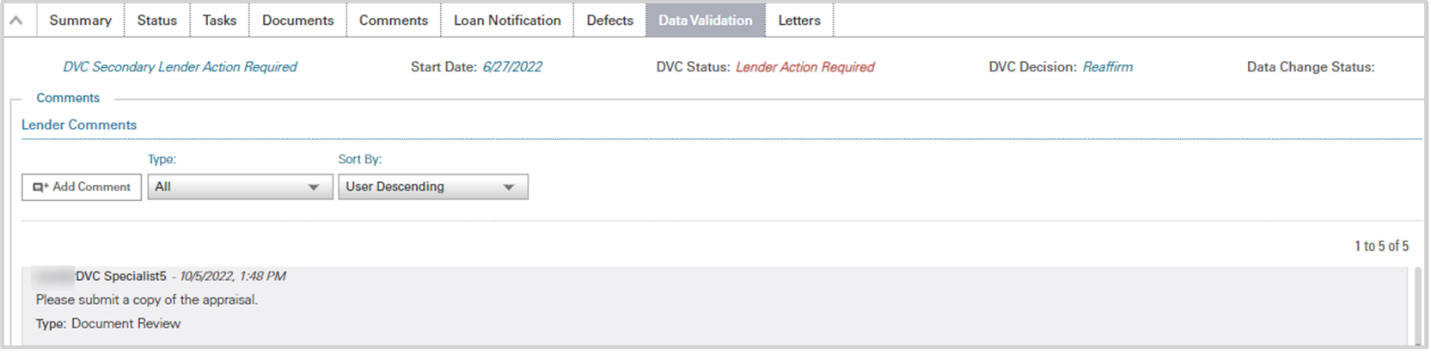
- On the Data Validation tab, scroll down to the Defect(s) Assigned section for a detailed explanation of the defect(s). In our example, the defect reflects that the subject loan was delivered with an LTV/CLTV/HCLTV Discrepancy.

- Also on the Data Validation tab, scroll down to see the Comments section to find out what Fannie Mae is requesting you to do. In our example, the Lender is being asked to provide a copy of an Appraisal.
- In order to upload supporting documentation, scroll down on the Data Validation tab to the Documents section, and click on Upload Additional Document.

The Upload Document window opens.
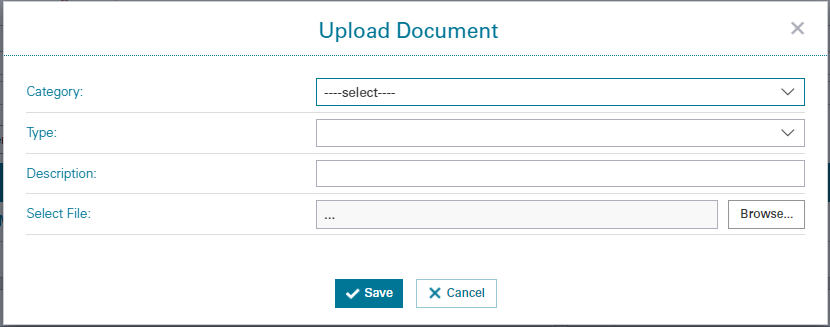
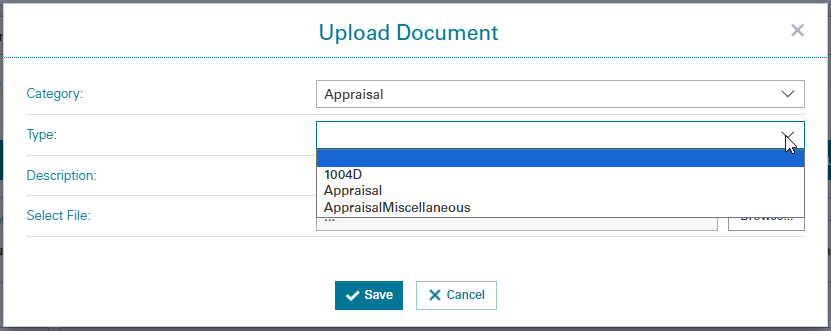
- Select the Category and Type of document you want to upload from the drop-down menus.
Appraisal is selected in our example. This causes the Type drop-down menu to populate with options relevant to the Appraisal category.
- Click Browse, select the file to upload and click Open.
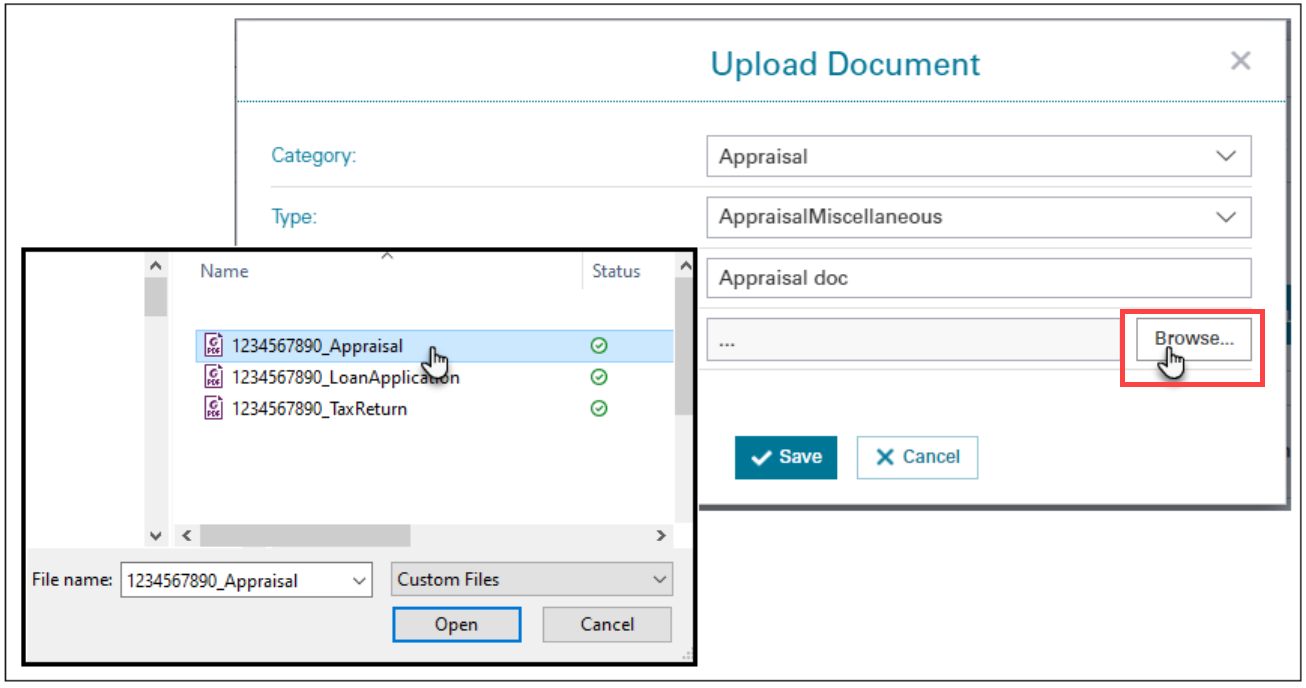
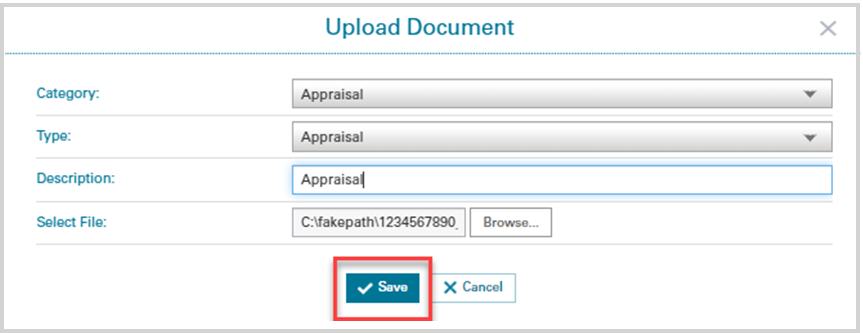
You may also type a document description in the Description field if applicable. Then click the Save button.
You will receive a prompt confirming that the file was uploaded successfully. Click the Okay button to move forward.

The uploaded document is now visible from the Documents section of the Data Validation tab.

- From the same Data Validation tab, navigate to the Lender Response for All Defects Assigned section, and choose whether to Agree or Disagree in the Lender Response drop-down menu. A comment is also required in the Comment field prior to submitting your response. Then click the Submit Response button to complete your task.
